
Last updated November 21, 2026
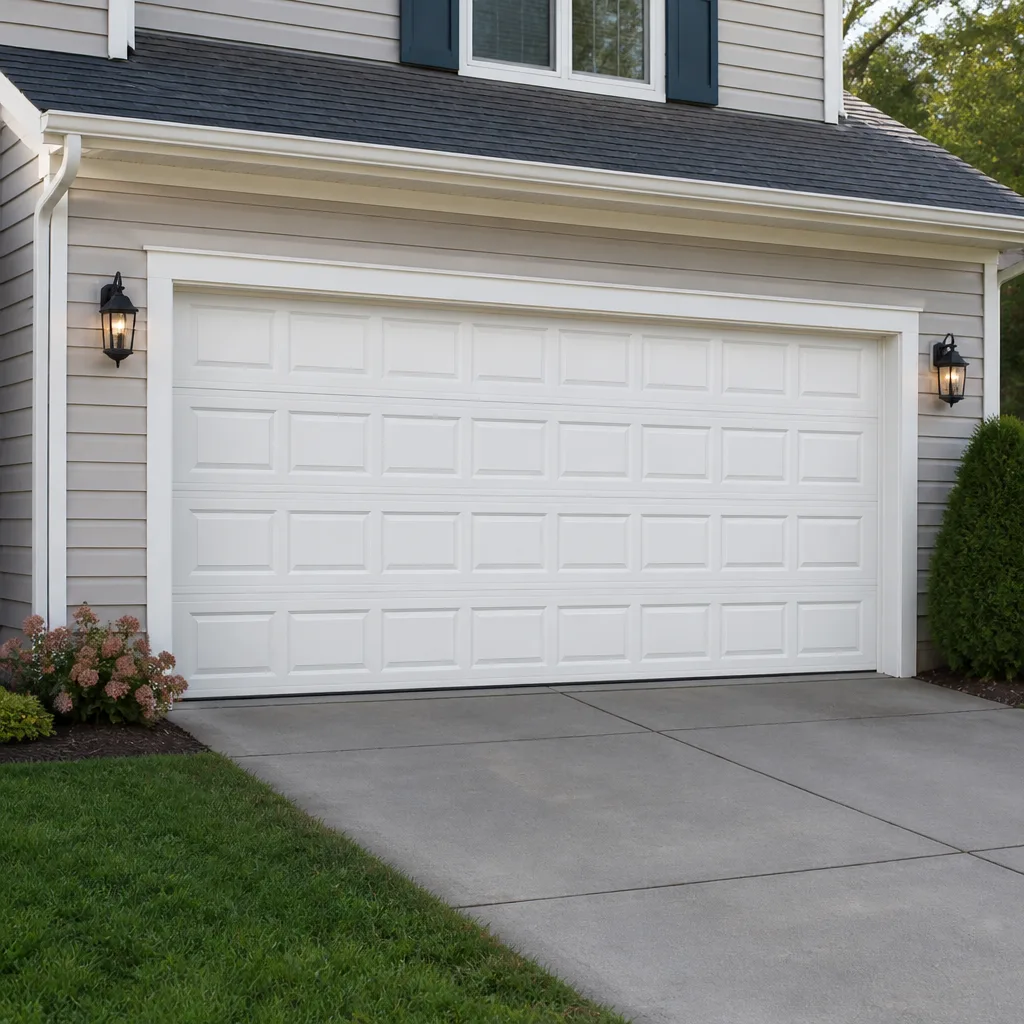 Raised-panel steel
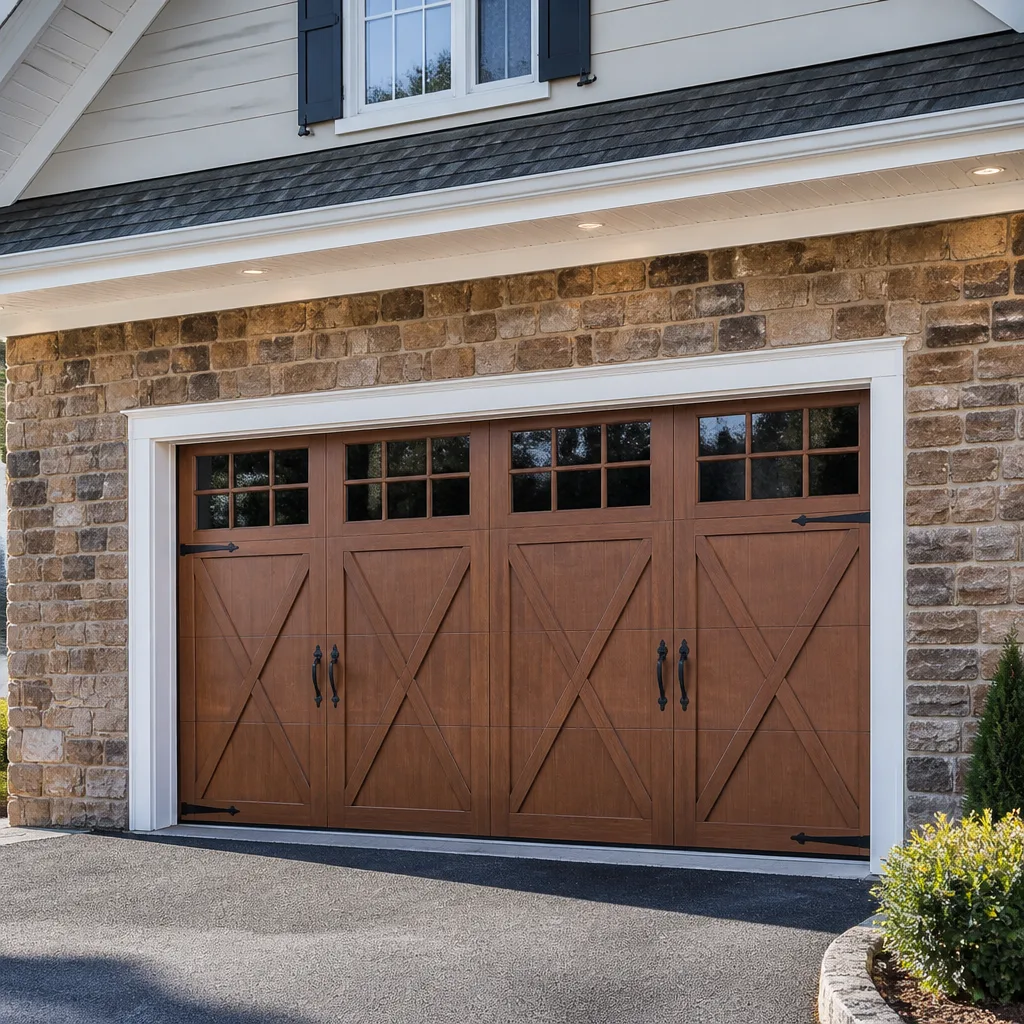 Carriage house
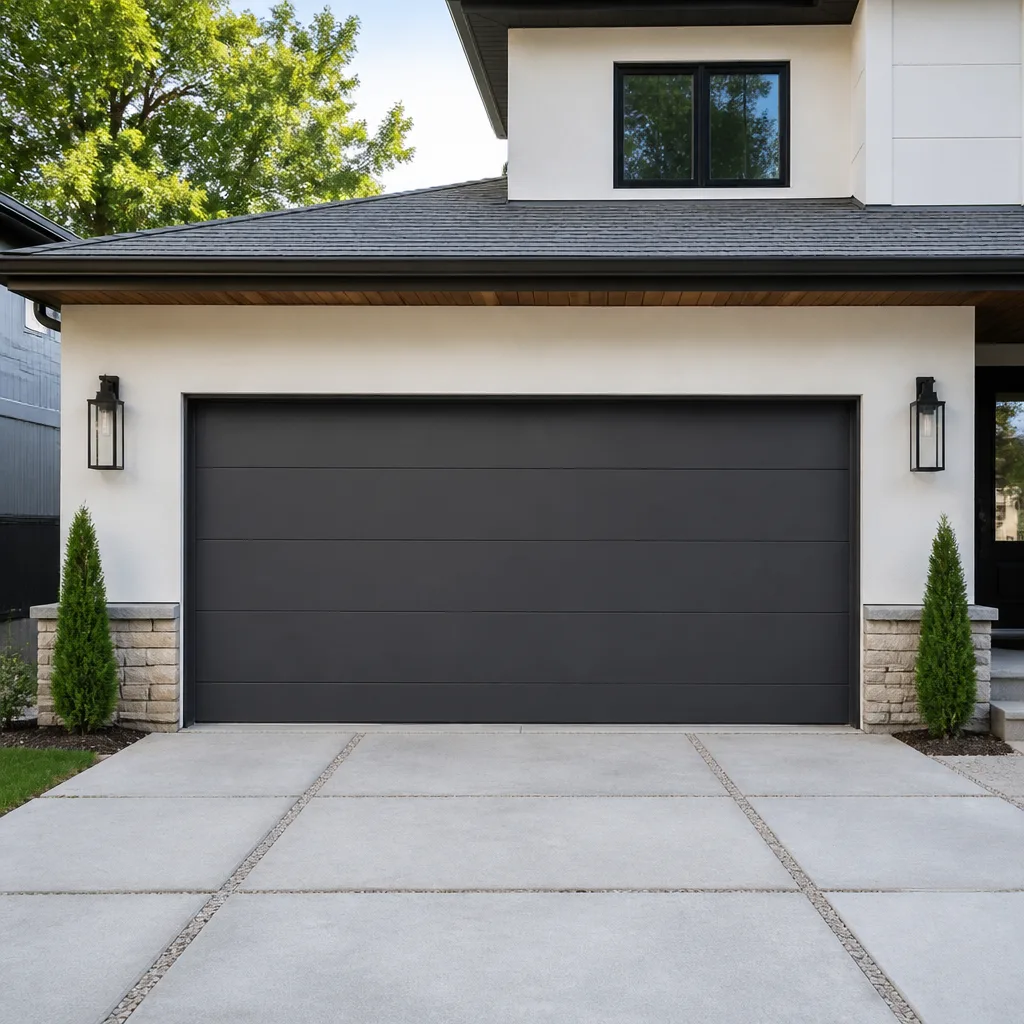 Modern flush
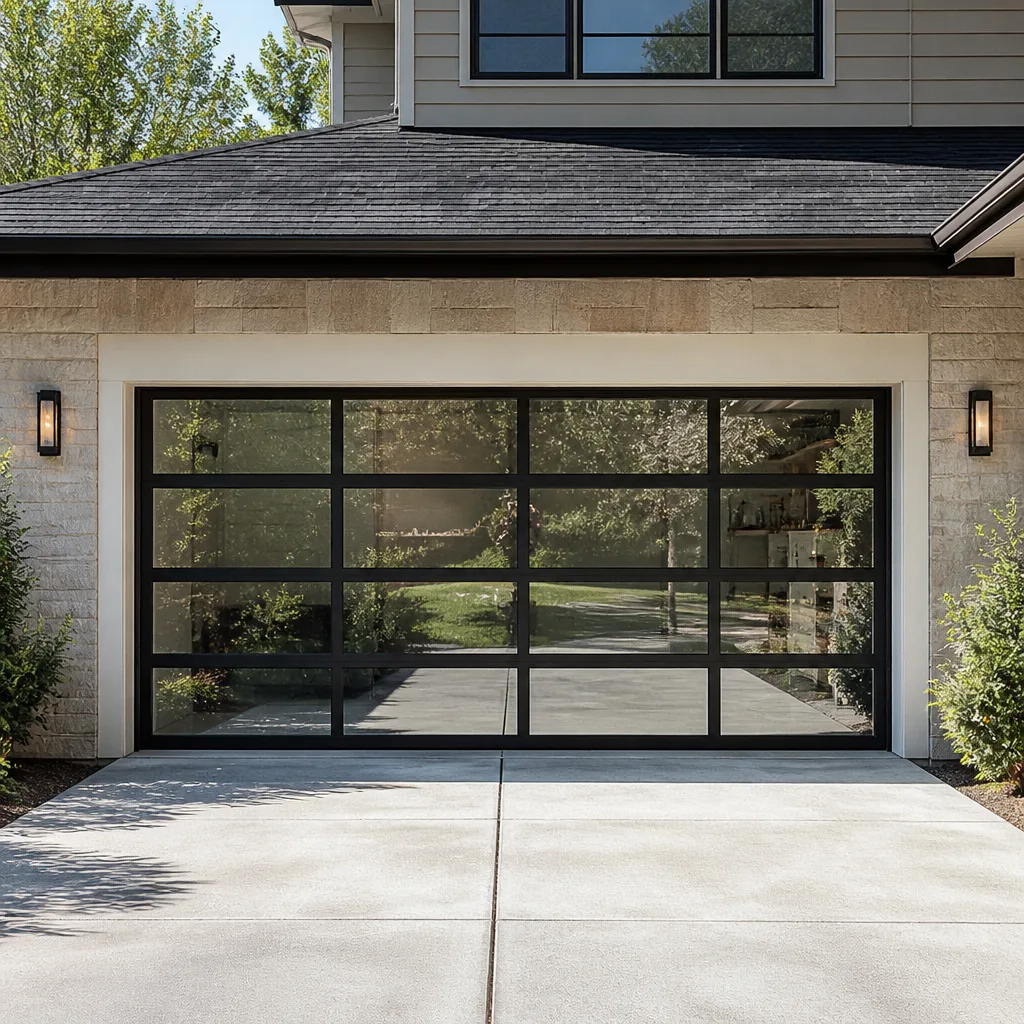 Full-view glass
 LiftMaster openers
 Chamberlain openers
Full 25-point door and opener safety check with every visit - springs, cables, rollers, tracks, and your LiftMaster or Chamberlain opener included
You get a price before we start. It does not change when the pro arrives.
Get your free estimateDIY vs Professional Garage Door: The Plymouth Homeowner’s Decision Guide
Here’s the part most advice gets wrong: the decision isn’t about how handy you are. It’s about which garage door tasks punish a mistake with injury or compounding damage, and which ones genuinely don’t. A torsion spring holds enough stored force that a slipped winding bar can break a wrist or send a chunk of steel through a windshield. Adjusting the travel limits on a LiftMaster opener? Ten minutes and a screwdriver. Most Plymouth homeowners draw the line in the wrong place, treating the whole door as either “too scary to touch” or “just a big machine I can figure out.” This guide sorts every common task into three buckets – safe for DIY, handle with caution, and never touch – and explains the mechanics behind each call so you can judge for yourself.
Quick Answer
In Plymouth, safe DIY work is limited to maintenance and control adjustments: lubricating tracks and rollers, checking the balance of the door by hand, cleaning photo-eye lenses, and setting travel limits or force on an opener. Anything involving torsion springs, extension springs, lift cables, bottom brackets, or the panel structure itself belongs to a trained technician – not because it’s hard to learn, but because the stored energy and sudden failure modes leave no margin for a mistake. If you’re unsure which category a job falls into, that’s the moment to call.
Styles & brands we work with
- Raised-panel steel
- Carriage house
- Modern flush
- Full-view glass
- LiftMaster openers
- Chamberlain openers
Table of Contents
- The One Test That Tells You Which Side of the Line You’re On
- Tasks That Are Genuinely Safe to Do Yourself
- Tasks That Require Caution and the Right Tools
- The Never-DIY List and the Mechanics Behind It
- How DIY Mistakes Create Compounding Damage
- The Year-Round Maintenance Calendar for Plymouth Homeowners
- When a DIY Fix Voids a Component Warranty
- DIY Versus Professional: What Each Path Actually Costs
The One Test That Tells You Which Side of the Line You’re On
Before you pick up a tool, run one test. Disconnect the opener (pull the red release cord with the door closed, then lift the door by hand about halfway and let go). A healthy door stays where you leave it. A door that drops on its own, slams down, or feels impossibly heavy tells you the spring system or balance is off – and that puts you squarely in professional territory. The test itself is safe: you’re not touching the springs, you’re just reading the message they’re sending.
That single check separates the two worlds of garage door work. If the door balances and moves smoothly, most of what follows is cosmetic or control-related, and you can handle a lot of it. If it doesn’t balance, stop. The spring is either fatigued, broken, or improperly tensioned, and every downstream symptom (the opener straining, the door reversing, the cables going slack) traces back to that. In our experience, most “my opener is dying” calls in Plymouth turn out to be a spring problem wearing out the opener.
Plymouth homes deal with a wide swing between humid summer air and hard winter cold. That cycle works on steel springs and wooden or steel panels alike, so a door that was fine in August can feel different by February. The balance test takes ninety seconds and tells you more than any amount of listening to the motor.
Tasks That Are Genuinely Safe to Do Yourself
The safe list is longer than most people think. None of it involves winding, releasing, or disconnecting a spring, and none of it requires you to be under a door supported only by tension.
- Lubricating tracks, rollers, and hinges with a garage-door-specific lubricant (not WD-40, which attracts dust). A light coat on the torsion bar, hinges, and roller stems quiets most squeaks and reduces wear.
- Cleaning the photo-eye lenses on either side of the opening. A cobweb or a smear of road grime is the most common reason a door won’t close, and a soft cloth fixes it.
- Checking and aligning the safety sensors so the indicator lights stay solid. If one is knocked askew by a bike or a recycling bin, nudging it back into line is a two-minute job.
- Testing the auto-reverse by placing a 2×4 flat on the floor in the door’s path and confirming it reverses on contact. This is a safety check, not a repair – and worth doing monthly.
- Wiping down and inspecting weather seals at the bottom and sides. Cracked seals let in cold air and moisture, and replacing a bottom seal is a straightforward homeowner task on most doors.
- Adjusting opener travel limits and force settings on a LiftMaster or Chamberlain unit, following the manufacturer’s manual. If the door stops an inch short or reverses for no reason, this is often the fix.
- Tightening visible bolts on the hinges and the bracket that holds the opener rail – checking that they’re snug, not torqued to spec.
Notice what all of these have in common: nothing on the safe list requires you to manage stored mechanical energy. You’re cleaning, checking, and tuning controls. If a task would have you handling a spring, a cable, or a bracket under tension, it doesn’t belong here.
Tasks That Require Caution and the Right Tools
Between the easy list and the never-touch list sits a middle zone. These jobs are doable if you’re comfortable on a ladder, have the right tools, and understand what you’re looking at – but a mistake costs money or a bruise rather than a hospital visit.
- Replacing rollers. You need to support the door panel, remove the hinge pin, and swap the roller. Doable, but the door must be fully open (springs relaxed) and you must never let a panel drop.
- Replacing the bottom weather seal. Straightforward on most doors – measure, cut, slide the new seal into the retainer. Watch for a pinched finger at the track.
- Replacing a remote or keypad. Programming a new LiftMaster or Chamberlain remote follows a sequence in the manual. On older Craftsman and Genie units the procedure differs, so keep the manual handy.
- Replacing opener light bulbs or a backup battery. Simple, but use the bulb type specified – a too-hot bulb can damage the housing.
- Clearing a track obstruction. If something is jammed in the track, the door must be disconnected and safely propped. This gets tricky fast, and a bent track from prying is a real risk.
The pattern here: caution tasks involve components, not the energy-storing core of the door. If the job has you near the springs or the cables, it’s moved to the next list. Wondering whether a symptom belongs here or below? You can read more about what different failures look like on our garage door repair page, which walks through common symptoms and what causes them.
The Never-DIY List and the Mechanics Behind It
Here’s the honest reason these jobs aren’t for homeowners. A torsion spring on a standard residential door is wound under hundreds of pounds of stored force. When it’s held correctly by two winding bars, that force is controlled. When a bar slips out of a winding cone – or a homeowner uses a screwdriver, a piece of rebar, or a clamped wrench instead of a proper fitting bar – the energy releases instantly and without warning. There’s no second chance in that moment. A lift cable under tension can lash, and the bottom bracket it attaches to can fail and swing. These aren’t hypotheticals in the trade; they’re the reason technicians are trained specifically for springs. Our own team treats garage door spring repair as its own discipline precisely because the margin for error is zero.
The never-DIY list:
- Torsion spring replacement or adjustment – winding, unwinding, or swapping a torsion spring.
- Extension spring replacement – even though they look simpler, they still store serious force and require safety cables.
- Lift cable replacement or re-tensioning – a slack or frayed cable means the door could drop.
- Bottom bracket and cable drum work – both are under spring tension even when the door is down.
- Removing or replacing the bottom panel on many doors, because it carries the cable load.
- Any repair where the door is standing on a broken spring – the spring is already failed, and the door’s weight is unsupported.
If a spring has snapped, do not attempt to open the door with the opener. The motor will strain against a door it can’t lift, and the door can come down hard. Call a professional. When your door won’t move, we do – that’s the whole point of our emergency service. Call (855) 337-1124. We answer 24/7. Fast dispatch from 7am to 7pm, Sunday through Friday.
How DIY Mistakes Create Compounding Damage
A botched spring job rarely stays a spring job. That’s the part homeowners underestimate. Springs and cables are a system, and the door’s balance depends on all of it working together. When one piece is wrong, the other pieces absorb the error – and the damage adds up.
Walk through it:
- A spring wound to the wrong tension makes the door too heavy or too light. Too heavy, and the opener works harder every single cycle.
- The opener wears out early – the gear and motor take a beating lifting a door they weren’t sized for. Now you’ve got a spring problem and an opener problem.
- A door out of balance puts uneven strain on the cables and rollers. A cable can fray. A roller can flatten. A hinge can loosen.
- An opener that reverses on a heavy door can force a jammed door into a twisted track, which then needs straightening before the door will run.
We’ve seen the pattern in Plymouth often enough to name it: what starts as one DIY spring call becomes a spring plus opener plus track adjustment. The original professional repair would have been the cheaper line item. The moral isn’t “don’t touch your door” – it’s that the spring is a system component, not a bolt you tighten.
The Year-Round Maintenance Calendar for Plymouth Homeowners
Most professional service calls are preventable. The right maintenance rhythm in Plymouth – with the temperature swings between humid summers and hard winters – keeps a door running longer and cuts down on surprise breakdowns. Here’s the calendar we’d suggest to any homeowner who wants to stay ahead of it.
- Monthly: Run the auto-reverse test with a 2×4. Clean the photo-eye lenses. Listen for new noises (squeaks, grinding, a click on every cycle).
- Spring (April-May): Lubricate tracks, rollers, hinges, and the torsion bar. Inspect the weather seal at the bottom and sides after winter. Tighten visible bolts. Wipe down the panels and touch up any rust spots.
- Summer (June-August): Check that the door opens and closes smoothly in the heat – warm, humid air can swell wooden doors and make rollers drag. Re-test balance.
- Fall (September-November): Lubricate again before the cold sets in. Inspect the rollers for flat spots. Test the opener’s force settings so it doesn’t overwork in cold weather. Check that the door closes fully against the seal – a gap lets in cold air and pests.
- Winter (December-March): Keep the tracks clear of snow, ice, and grit, since frozen debris can jam a roller. Test the opener’s battery backup if it has one. Listen for a strained motor – cold temperatures make everything work harder.
None of this replaces a professional service visit, but it does reduce how often you need one, and it catches the small problems before they turn into broken springs and dead openers. A door that runs smoothly in July is a door in better shape for January.
When a DIY Fix Voids a Component Warranty
Here’s a detail that surprises owners of newer doors: many component warranties are conditional. Springs, openers, and door sections often carry coverage from the manufacturer, but that coverage comes with conditions about who does the work. A spring replacement done by anyone other than a qualified technician can void the spring’s warranty. Hacking into an opener – rewiring it, replacing a logic board yourself, or forcing it after a spring failure – can void the opener warranty on modern units, including LiftMaster and Chamberlain systems. The exact terms vary by brand and model, so check your manual or the documentation that came with the door.
If your door or opener is still under coverage, that changes the calculus. A DIY spring replacement might save a line item today but could wipe out the protection on a door system that’s still covered. For newer Clopay and Amarr doors especially, staying within the warranty terms matters. This is one of the practical reasons a professional call makes sense: it preserves the coverage that’s still in force, and it means a future failure on a covered component is still the manufacturer’s problem. When you’re weighing DIY versus professional, pull out the manual and check the warranty language before you decide. If you’re unsure, ask us – we can walk through what a typical warranty says for your brand.
DIY Versus Professional: What Each Path Actually Costs
The DIY-versus-professional cost comparison isn’t just about parts and labor. It’s about what happens when the DIY job goes wrong. A spring swap done correctly is a professional repair with a known price. A spring swap gone wrong is a spring plus a new opener plus a straightened track plus a door rebalance – and the DIY homeowner pays for all of it. Most estimates for a torsion spring repair in Plymouth land in the same ballpark as the parts-plus-effort math, which means the savings from DIY on the dangerous tasks are smaller than they look once you price the risk.
For the tasks on the safe list – lubrication, sensor cleaning, travel limits, seal replacement – DIY genuinely saves money, because the work is low-risk and the parts are cheap. For the caution list, DIY can make sense if you’re comfortable, but the math changes fast if you damage a panel or bend a track. For the never-DIY list, the professional call is the cheaper path in expectation, even before you count the injury risk.
Free estimates take the guesswork out of the professional side. We quote a price for the job and you agree to it before any work starts, so there’s no invoice surprise. If you’re in Plymouth and weighing whether to handle something yourself, a free estimate is the fastest way to know what the professional path would cost for that specific job.
Common Mistakes to Avoid
- Using the opener to diagnose a balance problem. If the door is heavy, the opener is already strained. Running it repeatedly in Plymouth winters can wear the gear before you’ve even identified the spring as the cause.
- Prying a bent track with a crowbar. Tracks are thin-gauge steel. Prying bends them worse. The fix is a proper track realignment, not a bigger lever.
- Assuming “it’s just a spring” and buying the wrong one. Torsion springs are sized by wire gauge, inside diameter, and length. The wrong spring makes the door too heavy or too light, and either one damages the opener.
- Lubricating the tracks with WD-40 or grease. Garage door tracks don’t need lubrication at all – the rollers do. Oil in the track channel collects grit and turns it into a grinding paste.
- Not checking the warranty before a DIY fix. Homeowners discover a covered component was voided only after the DIY replacement failed. Read the manual first.
- Ignoring a slow-closing door. A door that takes longer to close than it used to can signal a weakening spring. In Plymouth’s cold snaps, that weakness gets worse fast.
- Replacing an opener when the real problem is the door. Most “dead opener” calls trace back to door balance or spring tension. Search our garage door opener repair page for the symptoms to check first.
See the difference
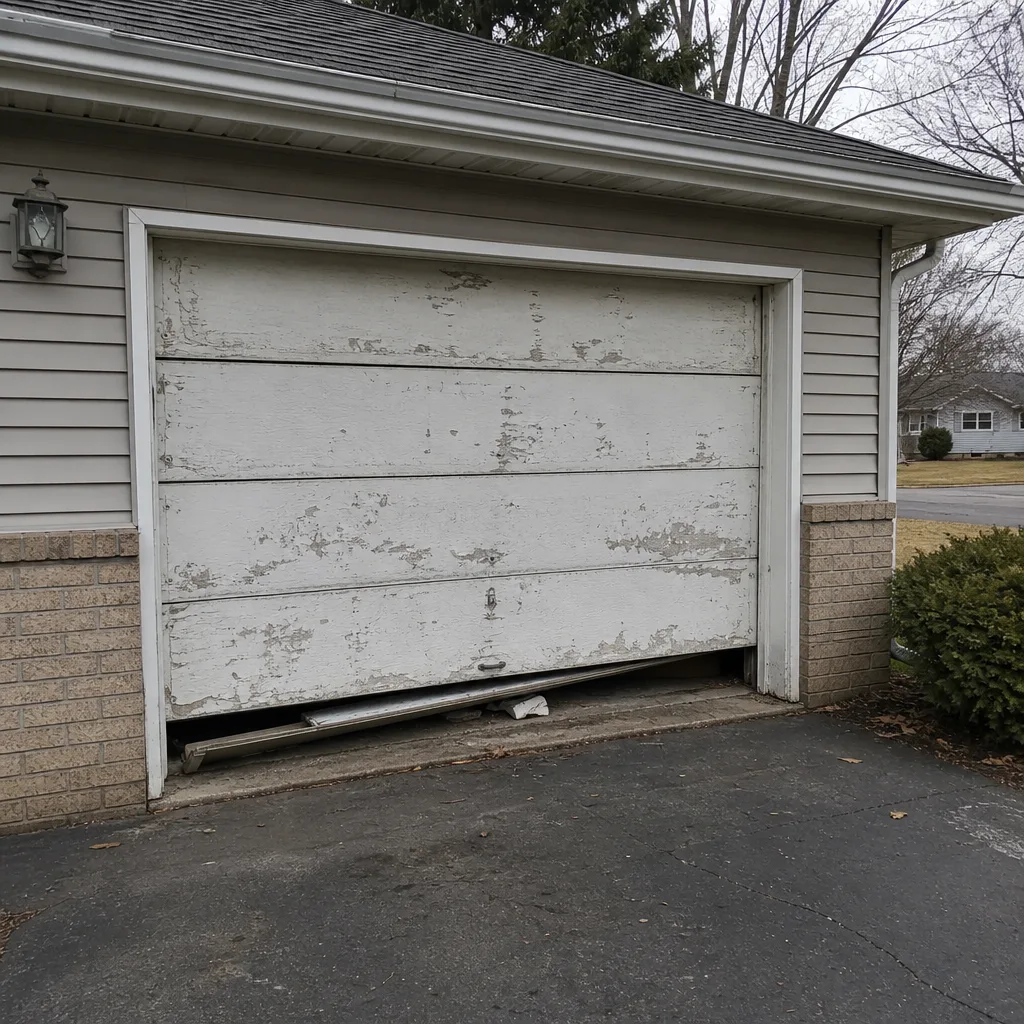 Before
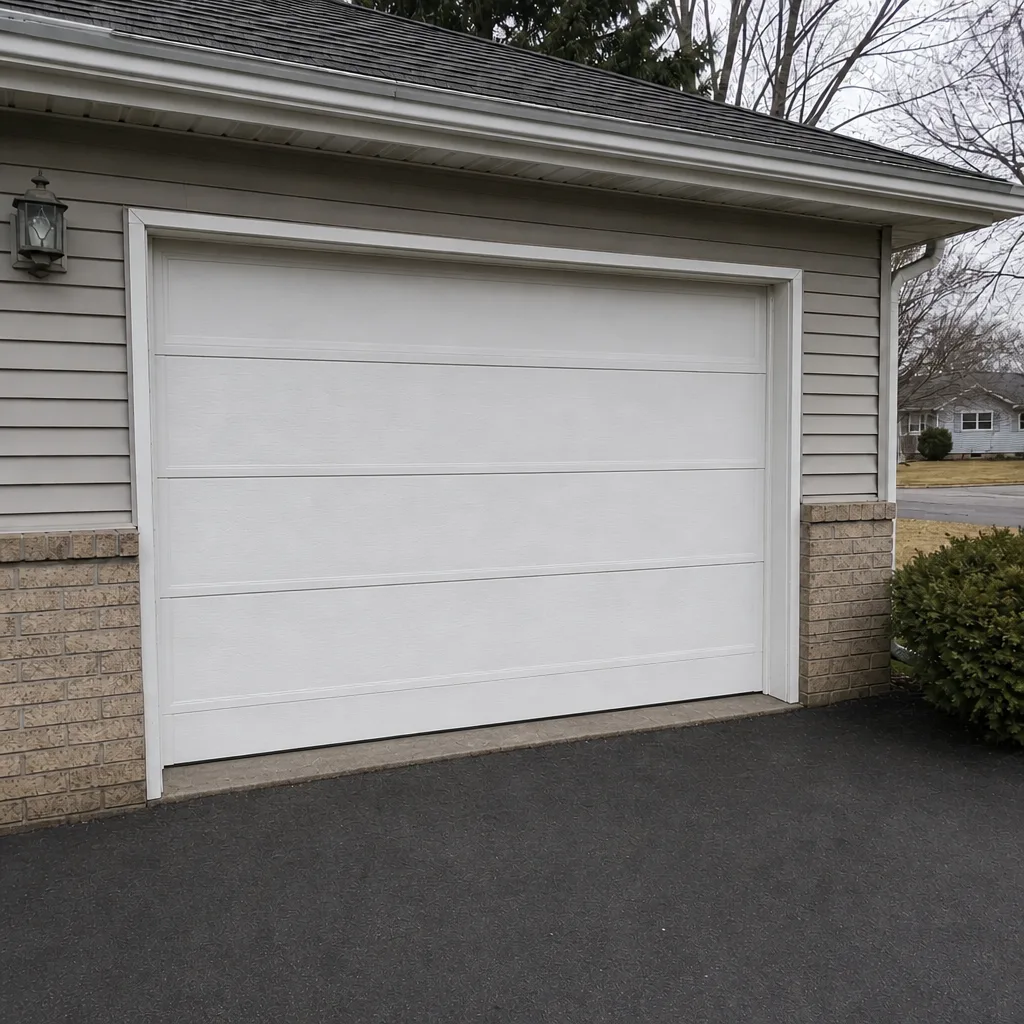 After
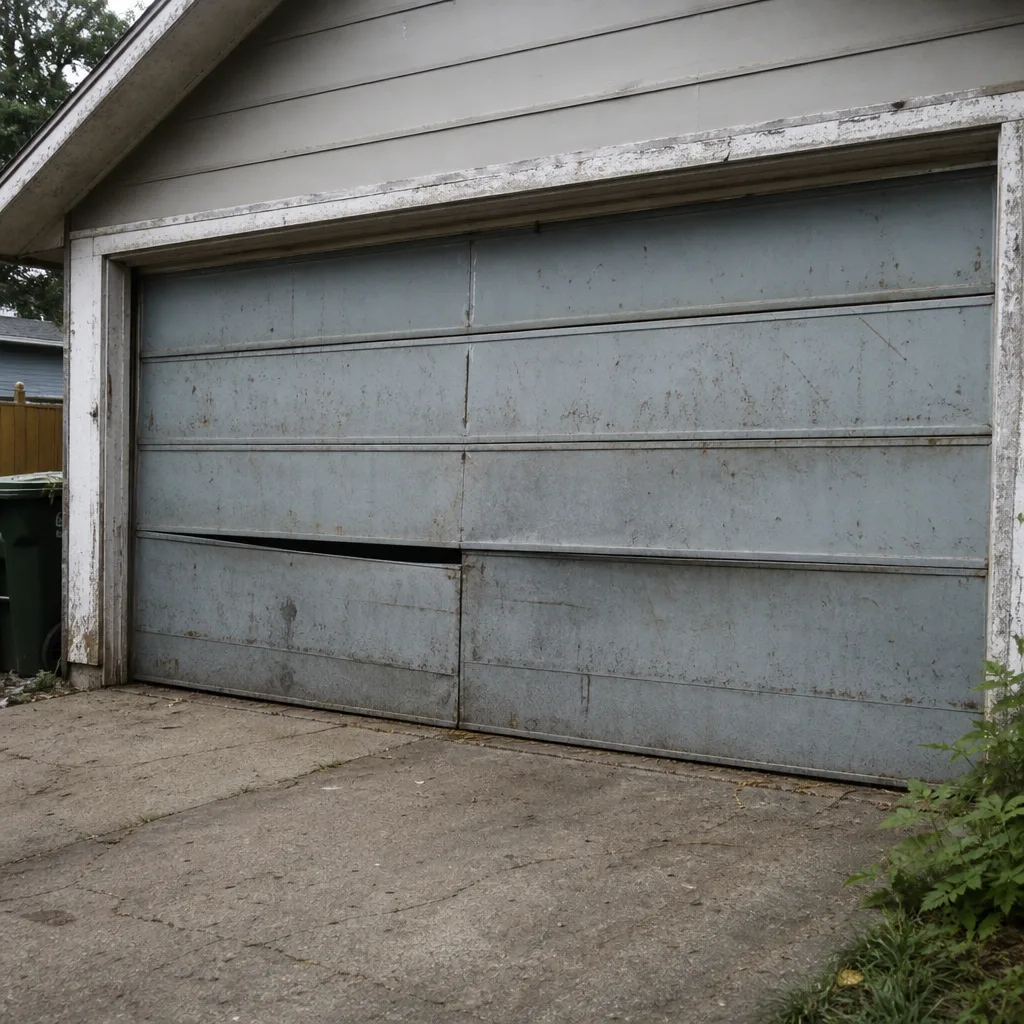 Before
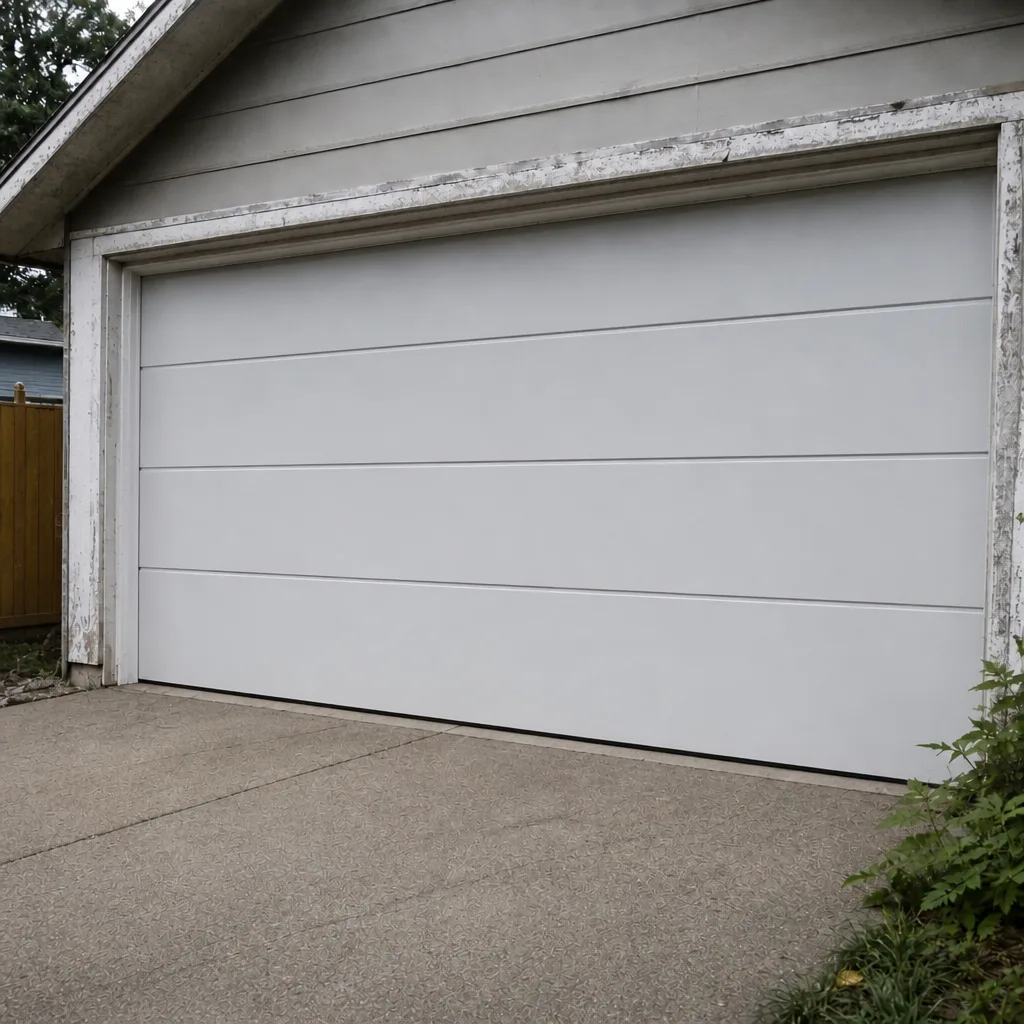 After
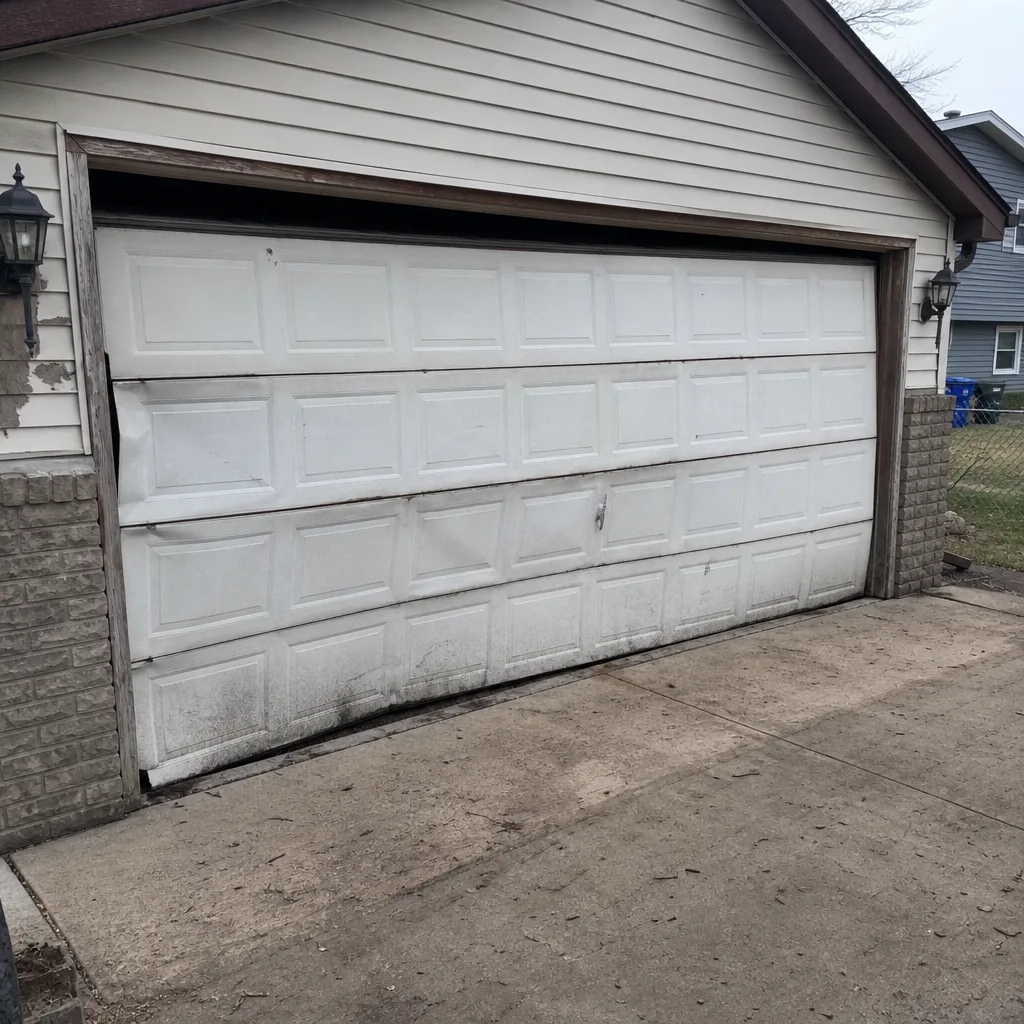 Before
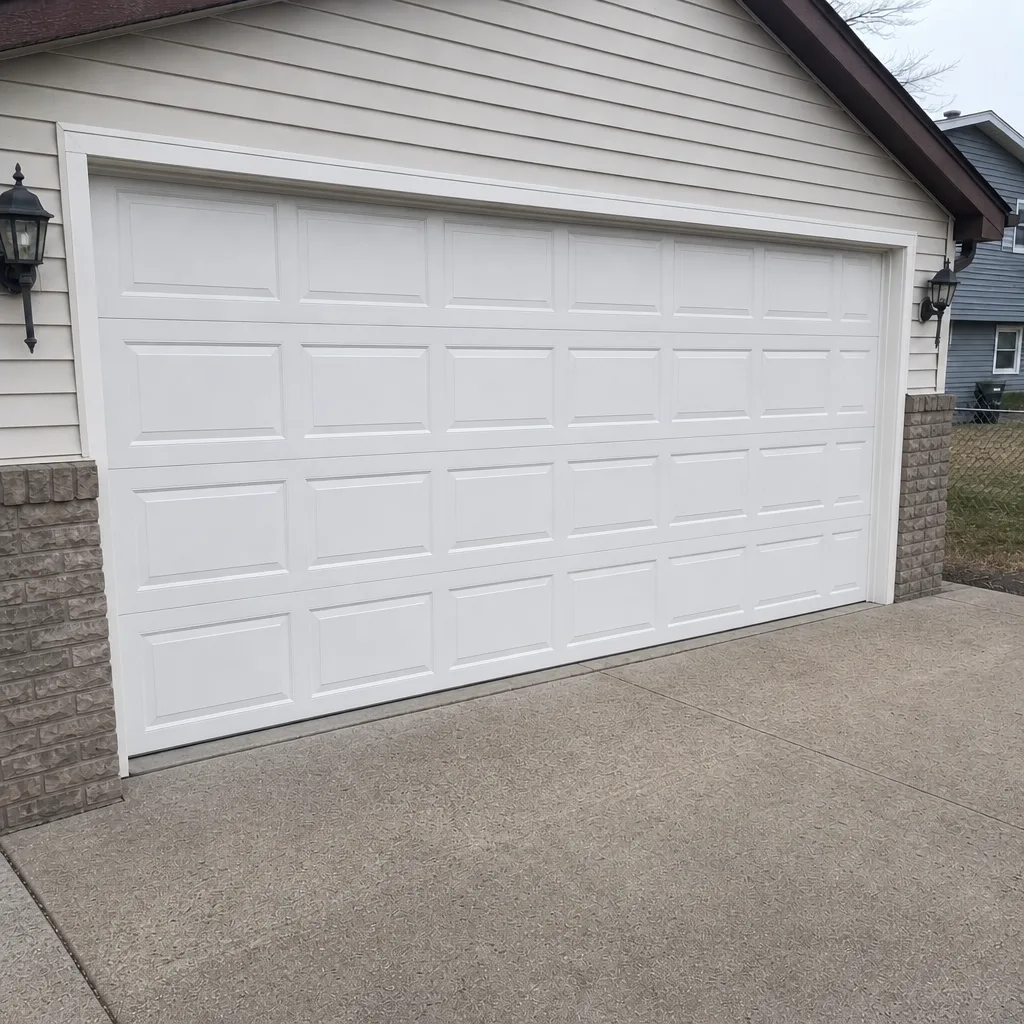 After
When to Call a Professional
Call a professional the moment you notice any of these: a broken spring (you’ll hear a loud bang and the door suddenly won’t open), a cable hanging slack, a door that comes down hard or won’t stay up on its own, a door that reverses for no reason, a bent track, an opener that grinds or smells burnt, or a door off its rollers. Also call if you’re weighing DIY on a spring or cable job – a brief conversation can save you a bad decision. Plymouth Garage Door Repair Pros offers free estimates in Plymouth – call (855) 337-1124. We answer 24/7. Fast dispatch from 7am to 7pm, Sunday through Friday. Our technicians have up to 11 years of experience, work on all eight major brands – LiftMaster, Chamberlain, Genie, Clopay, Amarr, Wayne Dalton, Craftsman, and Raynor – and quote a written price that you agree to before any work starts. For a broader view of our services, visit Plymouth Garage Door Repair Pros.
Frequently Asked Questions
No – torsion and extension springs store enough force that a slip can cause serious injury, so spring replacement belongs to a trained technician. The winding bars, the tension, and the timing of the release leave no margin for error, which is why this is the one task we’d steer any Plymouth homeowner away from every time. Call (855) 337-1124 for a free estimate on spring repair.
Yes – travel limits and force settings are control adjustments, not mechanical ones, and any homeowner can safely make them with a screwdriver and the manual. If the door stops short, reverses early, or travels too far, the limit is the first thing to check before assuming the opener is failing. Call (855) 337-1124 if you’d rather have a professional check it.
Broken torsion springs are the most common – they fail from fatigue regardless of how careful an owner is, and Plymouth’s wide temperature swings work on them all year. Cables, rollers, and worn opener gears follow. If you hear a bang from the garage and the door won’t lift, the spring is the likely culprit. Call (855) 337-1124 for a free estimate.
Twice a year is enough for most Plymouth doors – once in spring, once in fall – using a garage-door-specific lubricant on the hinges, rollers, torsion bar, and springs. The tracks should not be lubricated; they stay cleaner dry. Call (855) 337-1124 if you’d like a professional service visit to cover lubrication and inspection in one go.
It can. Component warranties on springs, openers, and door sections often require that work be done by a qualified technician, and a DIY replacement can void that coverage. Check your manual or the manufacturer’s documentation for your specific door and opener, and factor that into the decision. Call (855) 337-1124 if you want to know what a typical warranty says for your brand.
The difference is in what you’re buying: a professional repair comes with a trained diagnosis, the right parts, a written price agreed before work starts, and in many cases protection of the manufacturer’s warranty. A DIY fix on a safe-list task is genuinely money saved; on a never-DIY task, it’s risk dressed up as savings. Call (855) 337-1124 for a free estimate and we’ll tell you honestly whether the job is one worth doing yourself.
The Bottom Line
The DIY-versus-professional question for garage doors isn’t about skill. It’s about the tasks that punish a mistake without warning versus the ones that reward a careful homeowner. Springs, cables, bottom brackets, and the panels that carry cable load are never-DIY. Lubrication, sensor cleaning, travel limits, and seal replacement are genuinely safe. Everything in between is a judgment call – and the cost math shifts hard toward professional whenever the job touches stored energy. If you’re in Plymouth and weighing a task, a free estimate is the fastest way to know the professional price. Call (855) 337-1124. We answer 24/7. Fast dispatch from 7am to 7pm, Sunday through Friday.
Written by the team at Plymouth Garage Door Repair Pros.