
Last updated November 21, 2026
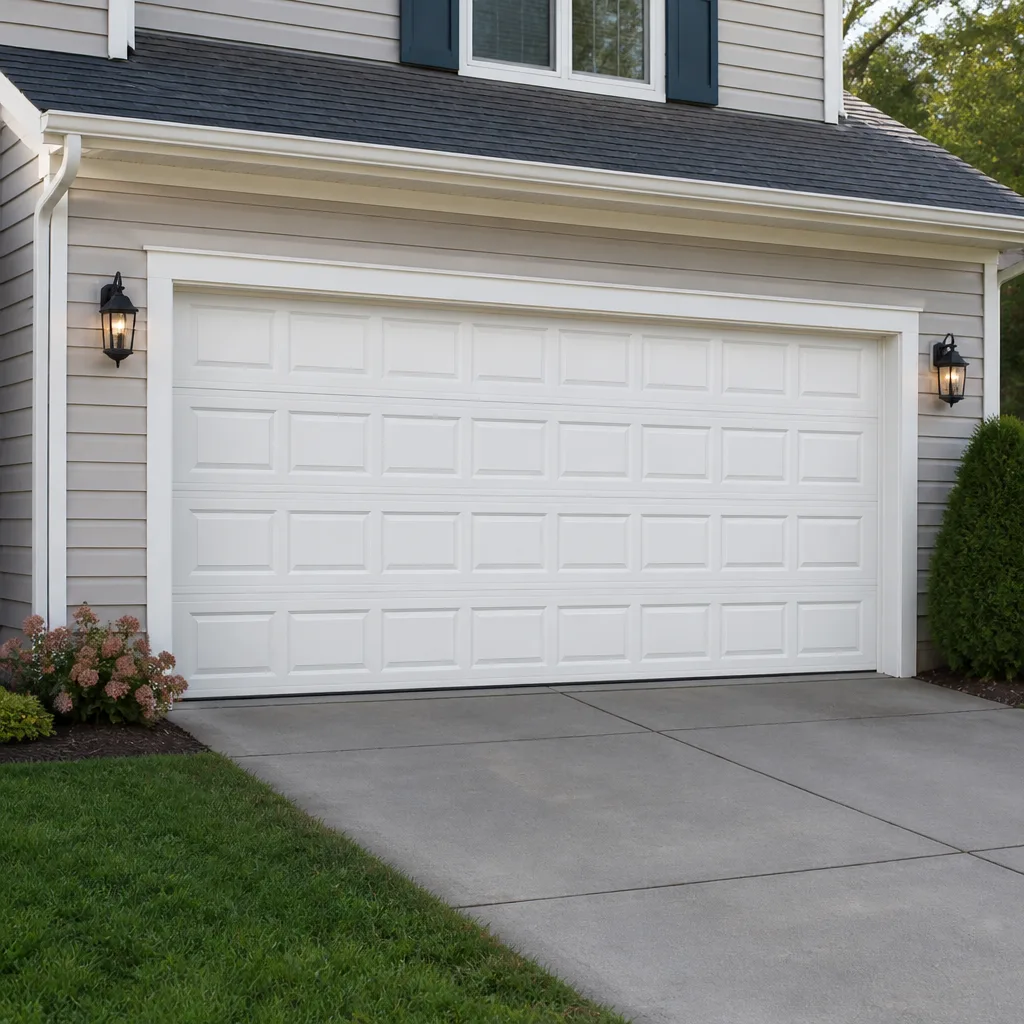 Raised-panel steel
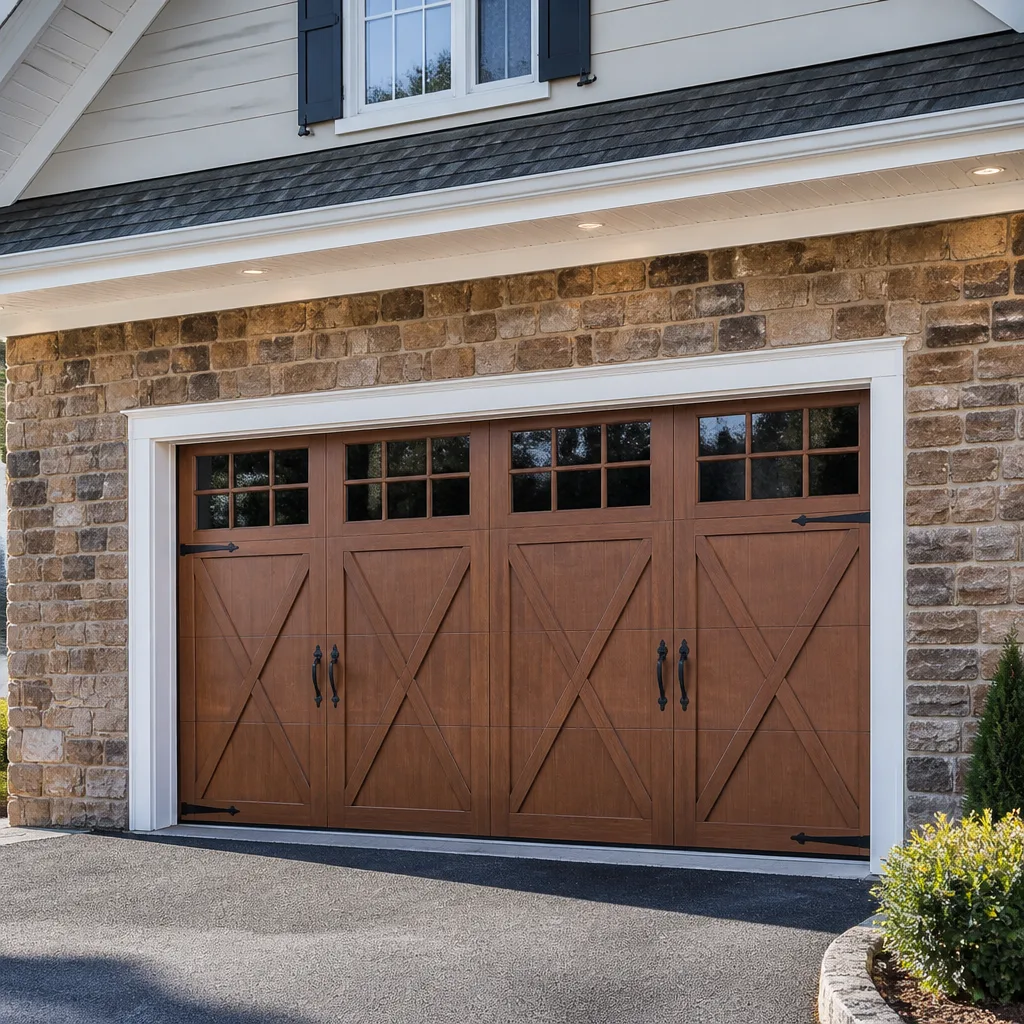 Carriage house
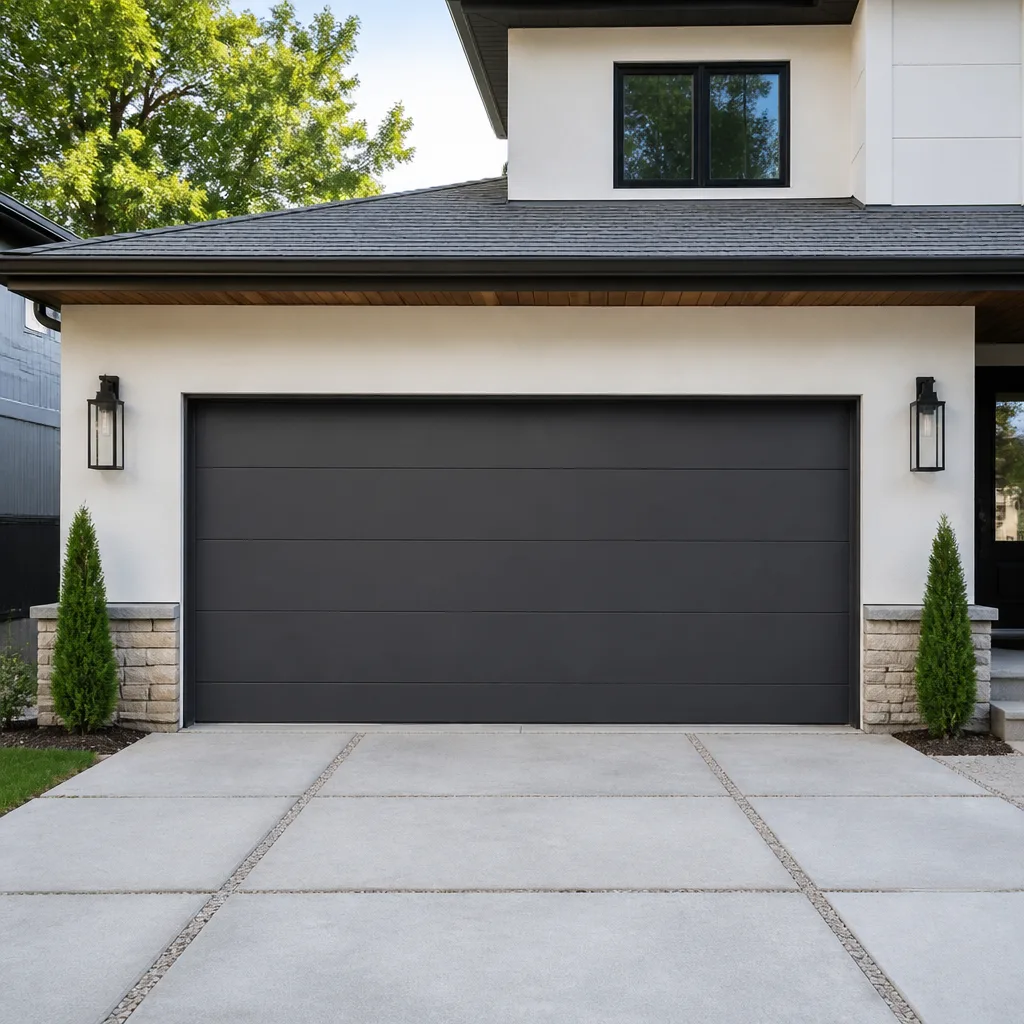 Modern flush
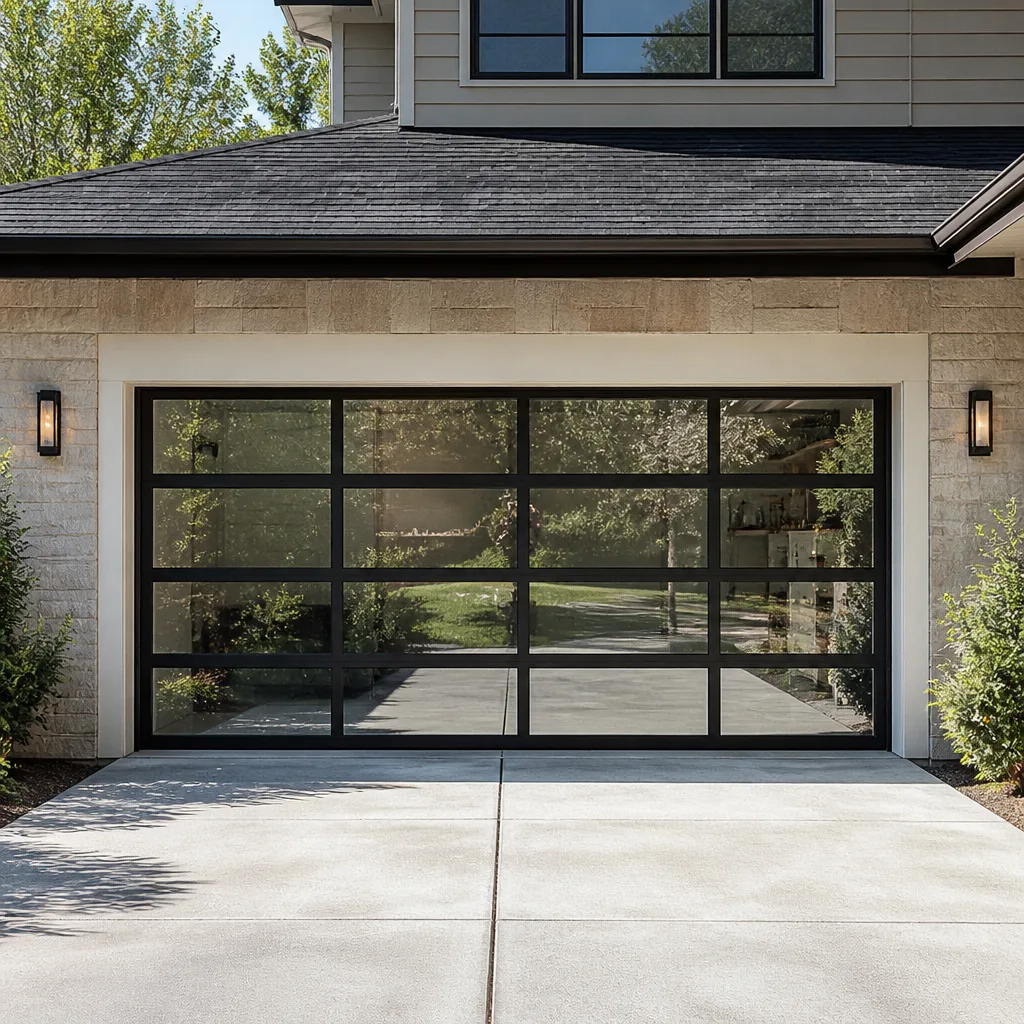 Full-view glass
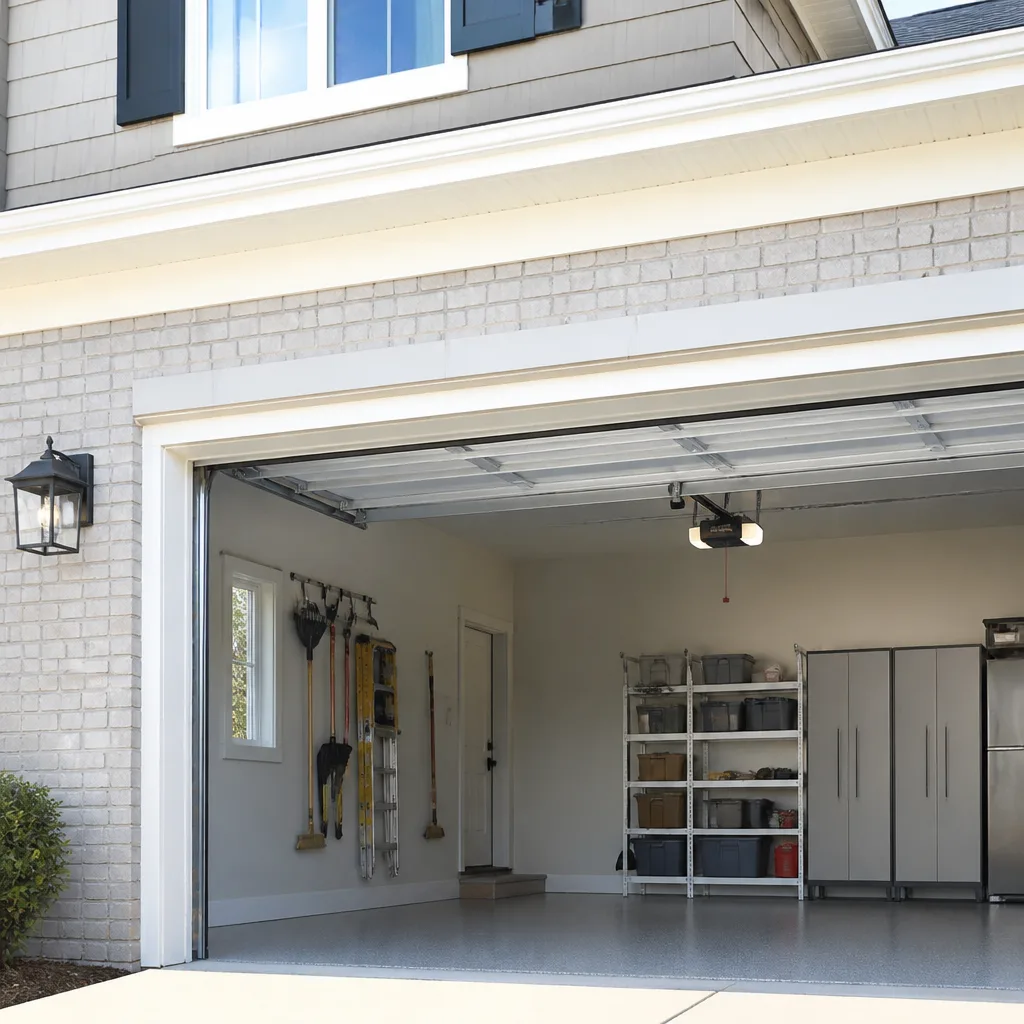 LiftMaster openers
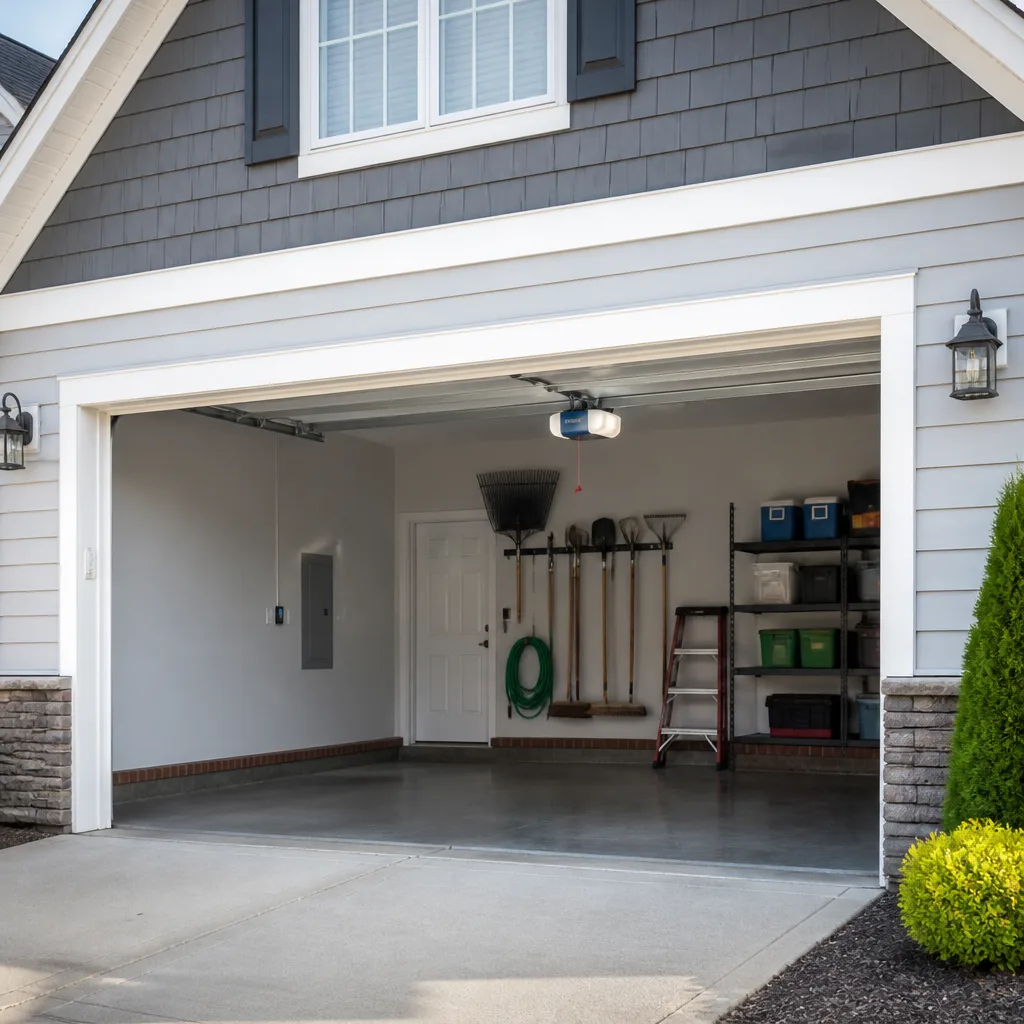 Chamberlain openers
Full 25-point door and opener safety check with every visit - springs, cables, rollers, tracks, and your LiftMaster or Chamberlain opener included
You get a price before we start. It does not change when the pro arrives.
Get your free estimateThe Complete Guide to Garage Doors in Plymouth
The garage door is the largest moving mechanical object in most Plymouth homes, yet most homeowners can’t name a single component until something breaks at 6 a.m. in January. That’s the trap. A torsion spring, a photo-eye lens, a bottom seal, a limit switch on a LiftMaster logic board: each part fails on its own schedule, and the failure always seems sudden even when it isn’t. Plymouth’s freeze-thaw cycles, its 1985-to-2010 housing stock, and its attached-garage layouts create a narrow set of failure patterns you can learn to read. This guide maps the full lifecycle of a garage door system through that local lens, from what each part does to when it typically fails, so you can triage a problem in five minutes and know when to call a specialist.
Quick Answer
Most garage door problems in Plymouth fall into five categories: spring failure, opener or logic board failure, track and roller wear, bottom seal and weatherstripping decay, and panel damage. Freeze-thaw cycling stresses springs and seals harder than milder climates do, and doors installed during Plymouth’s 1990s and 2000s suburban build-out are now hitting the end of their expected component life. Repair is almost always the right call for a single failed part; replacement makes more sense when the door structure, panels, and hardware are all worn at once.
Styles & brands we work with
- Raised-panel steel
- Carriage house
- Modern flush
- Full-view glass
- LiftMaster openers
- Chamberlain openers
Table of Contents
- The Complete Component Map
- How Plymouth’s Freeze-Thaw Cycles Stress Your Door
- Component Lifespan Timeline for 1990s and 2000s Plymouth Doors
- Five-Minute Triage: A Decision Tree for Any Problem
- Why Attached Garages in Plymouth Need Different Insulation Thinking
- Openers: Smart Systems, Legacy Systems, and What Fails
- Repair or Replace? A Decision Framework
- Seasonal Maintenance That Actually Matters Here
The Complete Component Map
Every garage door system, whether it’s a Wayne Dalton carriage-house door or a basic builder-grade panel door, is built from the same handful of subsystems. Knowing what each one is called helps you describe a problem accurately, whether you’re talking to us or to any technician, and it helps you understand why one failure doesn’t always mean the whole door is done.
Here’s what’s actually inside your door system and what each part does:
- Torsion spring – the horizontal coil mounted on a shaft above the door. It stores the energy that makes the door feel light. This is the most dangerous component in the system and the one that fails most dramatically.
- Extension springs – vertical springs running along the sides on some older or lighter doors. Less common than torsion in Plymouth’s newer homes, but still out there on pre-1990 builds.
- Lift cables – steel cables that connect the bottom bracket to the drum on the torsion shaft. They carry the tension and can fray or snap.
- Drum – the grooved spool on each end of the torsion shaft that winds the cable.
- Center bearing plate and end plates – the steel brackets that hold the torsion shaft in place.
- Hinges – the pivots between panels. They wear faster than most homeowners expect, especially the bottom hinge.
- Rollers – nylon or steel wheels that ride inside the tracks. Nylon rollers quiet down over time; steel rollers get loud.
- Tracks – the vertical and horizontal rails the door travels on. They bend under impact and misalign in extreme temperature swings.
- Bottom seal and weatherstripping – the rubber or vinyl strip on the bottom edge, plus the perimeter trim. This is your first defense against snowmelt and cold air.
- Photo-eye safety sensors – paired lenses near the floor that stop the door if something blocks the beam.
- Opener head unit and logic board – the motor housing and circuit board that control travel, force limits, and safety reversal.
- Limit switches and travel adjustment – the settings that tell the opener where fully open and fully closed are.
- Emergency release cord – the manual disconnect that lets you move the door by hand when the opener fails.
When we’re called to a Plymouth home for garage door repair, the first step is always identifying which subsystem actually failed. A door that won’t close could be a dead opener, a misaligned photo-eye, a bent track, or a snapped spring, and those four problems have four different fixes. “Brand-specific expertise, not guesswork” matters here: we work on your brand, whether that’s Craftstman, Raynor, LiftMaster, or any of the other major systems, so the diagnosis is grounded in how that specific hardware actually behaves.
How Plymouth’s Freeze-Thaw Cycles Stress Your Door
Plymouth sits in a climate that cycles above and below freezing repeatedly through winter and early spring. That cycle is the single biggest driver of garage door wear here, and it stresses two components far more than milder climates do: torsion springs and bottom seals.
Torsion springs are fatigue components. They’re rated in cycles, not years, and every open-and-close is one cycle. Plymouth homeowners typically run their doors twice or more per day, which adds up fast. What makes the local pattern distinct is the cold. Steel becomes more brittle at low temperatures, and a spring that’s been cycling all winter reaches its failure point more readily on the coldest mornings of the year. That’s why so many spring failures happen in January and February rather than in July. The spring didn’t “suddenly” break; it hit the end of its cycle rating on a day when the metal was least forgiving.
Bottom seals and weatherstripping take a different beating. Snowmelt pools against the bottom seal, freezes overnight, and then the door opens in the morning and tears at the seal. Repeat that fifty or sixty times a season and the seal stiffens, cracks, and stops sealing. A worn bottom seal lets cold air and moisture into the garage, which is a bigger deal in Plymouth than in warmer climates because that air reaches the wall between your garage and your living space.
What you can actually check without tools:
- Look at the bottom seal on a cold morning. If it’s stiff, cracked, or leaving visible daylight under the closed door, it needs replacing.
- Open the door partway and look at the torsion spring on the shaft above. If you see a visible gap in the coil, the spring has broken. Don’t try to operate the door.
- Listen to the door travel. A rhythmic thumping or grinding in cold weather that goes away in summer usually means rollers or bearings, not the spring.
- Check for ice buildup at the door threshold. If ice is forming inside the garage, the bottom seal and perimeter weatherstripping are both suspect.
If a spring has broken, this is the moment to stop and call. Torsion springs are under extreme tension, and the repair is genuinely dangerous. A trained technician handles garage door spring repair with the proper winding bars and the door secured; a homeowner with a pair of vice grips is one wrong move from a serious injury. We treat spring work as its own specialty for exactly that reason.
Component Lifespan Timeline for 1990s and 2000s Plymouth Doors
Much of Plymouth’s housing stock was built between 1985 and 2010, and the doors that went in during that build-out are now old enough that most components have either been replaced once or are due. If your home was built in that window and the door is original, this timeline tells you what’s likely approaching end of life.
- Torsion springs – typically rated for about 10,000 cycles, sometimes a bit more on heavier-duty springs. For a household running the door four times a day, that’s roughly seven years. Most original springs in Plymouth’s 1990s and early 2000s homes have already been replaced at least once.
- Extension springs – similar cycle life, and often fail first on older builds where they’re still in service.
- Cables – usually last two to three spring replacements. A frayed cable is a replacement signal, not a “wait and see.”
- Rollers – nylon rollers typically last several years of daily use; steel rollers last longer but get noisy. The bottom roller wears first because it takes the most force.
- Hinges – the bottom hinge and the hinges nearest the center usually need replacement before the others.
- Bottom seal – three to five years in this climate if the door is used daily. Cheaper seals go sooner.
- Opener – a chain-drive opener from the early 2000s is near the end of its useful life. Belt-drive and smart openers from the last decade generally outlast them.
- Panels and the door structure itself – 15 to 25 years depending on material and maintenance. Steel panel doors often outlast the hardware attached to them.
The pattern we see most often in Plymouth is a door where the springs, rollers, and bottom seal have all aged out around the same time, while the panels and opener are still fine. That’s a repair job, not a replacement. The other pattern is a door where the panels themselves are dented, rusting at the bottom, or separating from the frame, in which case you’re looking at a new door.
Five-Minute Triage: A Decision Tree for Any Problem
You can narrow down almost any garage door problem to one of a few categories in under five minutes without touching a spring or a cable. This decision tree is the same logic we use on the phone to decide what to bring and how fast to get there.
- Does the opener run but the door doesn’t move? If you hear the motor but the door stays put, the most likely cause is a broken spring, a snapped cable, or a disconnected opener carriage. Pull the emergency release only if the door is fully closed and you can lift it safely by hand. If the door feels extremely heavy, stop; the spring is likely broken.
- Does the door move but the opener doesn’t run? Check the wall control and the safety sensors. A flashing light on the opener head unit usually means the photo-eyes are blocked or misaligned. A dead wall control points to the logic board or the wiring.
- Does the door start to close and then reverse? This is almost always the photo-eye safety system. Look for cobwebs, snow, or a misaligned lens on either side of the door.
- Does the door travel unevenly or bind in one spot? This points to track alignment, a bent track, or a worn roller. Don’t force it; a binding door can jump the track entirely.
- Does the door close but leave a gap at the bottom? The bottom seal, the travel limits, or both. Check the seal condition first.
If steps one through five don’t isolate the problem, the next call is garage door opener repair, because an intermittent problem that doesn’t match any of these patterns usually lives in the opener’s logic board or travel settings. A technician can read that in minutes with the right diagnostic.
Why Attached Garages in Plymouth Need Different Insulation Thinking
Most Plymouth homes have attached garages, and an attached garage isn’t a standalone building with its own thermal envelope. It shares at least one wall with the living space, which changes how insulation and air sealing should be handled.
On a detached garage, insulation is mostly about keeping the garage itself usable in winter. On an attached garage, the priority shifts to keeping the shared wall warm and keeping cold air from migrating into the house. That means the bottom seal, the perimeter weatherstripping, and the wall between the garage and the house all matter more than the door’s R-value alone. A well-insulated door with a failed bottom seal is still a door that leaks cold air along the floor, and that cold air reaches the shared wall directly.
Here’s what we tell homeowners working through this in Plymouth:
- Fix the seal and the weatherstripping before you think about upgrading the door’s insulation. A leaky door defeats a better-insulated one.
- An insulated door helps most when the garage is used as workspace or when the shared wall is poorly insulated on the house side.
- A polyurethane-insulated door generally holds temperature better than a polystyrene-insulated door of similar thickness, but the difference is only worth paying for if the rest of the envelope is sound.
- If your garage shares a wall with a bedroom or a main living area, the door’s insulation and the seal quality both matter more than they would for a garage that shares only with a mudroom.
This is also where replacement decisions get made, because a new door is the moment to get the insulation and the seal right at the same time. If you’re weighing that, our Plymouth Garage Door Repair Pros team can walk through the options without pushing a new door you don’t need.
Openers: Smart Systems, Legacy Systems, and What Fails
Openers fail in predictable ways, and the failure mode depends on the era of the unit. Newer smart systems like LiftMaster and the Chamberlain myQ ecosystem fail differently than a Craftsman or Genie unit from twenty years ago, and the fix is different too.
On modern openers, the most common failures are:
- Logic board failure – the opener runs erratically, the wall control dies, or the unit clicks but won’t move. Board failure is common on units that have been through a power surge or a lightning-adjacent outage.
- Wi-Fi and myQ connectivity drops – the opener works fine from the wall but not from the app. This is usually a router, pairing, or firmware issue rather than a hardware failure.
- Safety sensor misalignment – the most common “door won’t close” cause on any modern opener.
- Battery backup failure – units with integrated battery backup won’t run during an outage once the battery ages out.
On legacy systems, the failure patterns shift:
- Gear and sprocket wear – a loud grinding on older chain-drive units usually means the drive gear has stripped.
- Limit switch drift – the door stops short of fully closed or travels too far. The limits need readjustment, not replacement.
- Capacitor failure – the motor hums but doesn’t start. The capacitor has failed and needs replacing.
One advantage of working with a multi-brand specialist is that we don’t try to steer a LiftMaster problem into a new LiftMaster sale or a Craftsman problem into a full replacement. If the board is the only failure, we replace the board. If the unit is genuinely at end of life, we say so. That’s the difference between a generalist and someone who works on these units every week.
Repair or Replace? A Decision Framework
The repair-or-replace question comes down to how many systems are failing at once and whether the door structure itself is sound. Here’s the framework we use.
Repair is usually the right call when:
- One component has failed and the rest of the door is in good condition.
- The panels are intact, undented, and rust-free at the bottom.
- The opener is functioning or repairable.
- The tracks are straight and the door travels smoothly.
Replacement usually makes more sense when:
- Multiple systems have aged out at once: springs, rollers, seal, and opener all near end of life.
- The panels are dented, separating, or rusting through at the bottom edge.
- The door is a style or insulation level that no longer fits how the garage is used.
- Repair costs, taken together, approach a meaningful share of a new door.
The honest answer for a lot of Plymouth doors built in the 1990s is that the panels are still fine and the hardware has aged out, which means repair. For a door from the early 2000s with rust at the bottom and a failing opener, replacement is often the better long-term spend. We give a written estimate for both paths before any work starts, and the price is set per job by that estimate, so you’re never guessing at the invoice once the work is underway.
Seasonal Maintenance That Actually Matters Here
Maintenance in Plymouth looks different from maintenance in a mild climate. The freeze-thaw cycle means you’re checking seals and testing the door’s travel in the cold, not just the warm months.
- Before winter: inspect the bottom seal and perimeter weatherstripping for cracks or daylight. Test the door’s balance by disconnecting the opener and lifting it halfway; a balanced door stays put. Lubricate hinges, rollers, and the torsion shaft bearings with a garage-door-specific lubricant, not WD-40.
- Mid-winter: clear snow and ice from the threshold so the bottom seal isn’t tearing each time the door opens. Check the photo-eyes for snow, ice, or cobwebs.
- Early spring: after the last freeze, look for spring fatigue signs (a gap in the coil, a door that feels heavier than it did in fall) and inspect the bottom seal again. Freeze-thaw damage shows up most clearly after the thaw.
- Summer: lubricate moving parts, tighten the track bolts, and test the safety reversal by placing a small object in the door’s path. This is also the best time to plan a new door if you’re headed that direction, because the scheduling is less rushed than in a January emergency.
Common Mistakes to Avoid
- Trying to replace a torsion spring yourself. This is the single most dangerous DIY mistake in the trade. The spring stores enough energy to cause serious injury, and no online video shortens the learning curve enough to make it safe.
- Ignoring a slow-closing door through the winter. A door that starts closing slowly in cold weather is usually a sign of spring fatigue or a failing opener. Waiting until it stops entirely means a longer repair and possibly a bent track.
- Using WD-40 instead of a proper lubricant. WD-40 is a solvent, not a long-term lubricant. It attracts dust and doesn’t protect hinges or bearings the way a garage-door-specific lubricant does.
- Assuming a new door needs a new opener, or vice versa. A working opener can usually carry over to a new door, and a failing opener doesn’t automatically mean a new door. Diagnose them separately.
- Calling a general handyman for spring or opener work. A generalist can fix a hinge, but spring and logic-board work requires trade-specific tools and training. A single-trade specialist gets it right the first time.
- Bypassing the safety sensors to keep the door moving. It’s tempting when the door won’t close and you’re in a hurry. It’s also the change most likely to cause an injury or property damage later.
See the difference
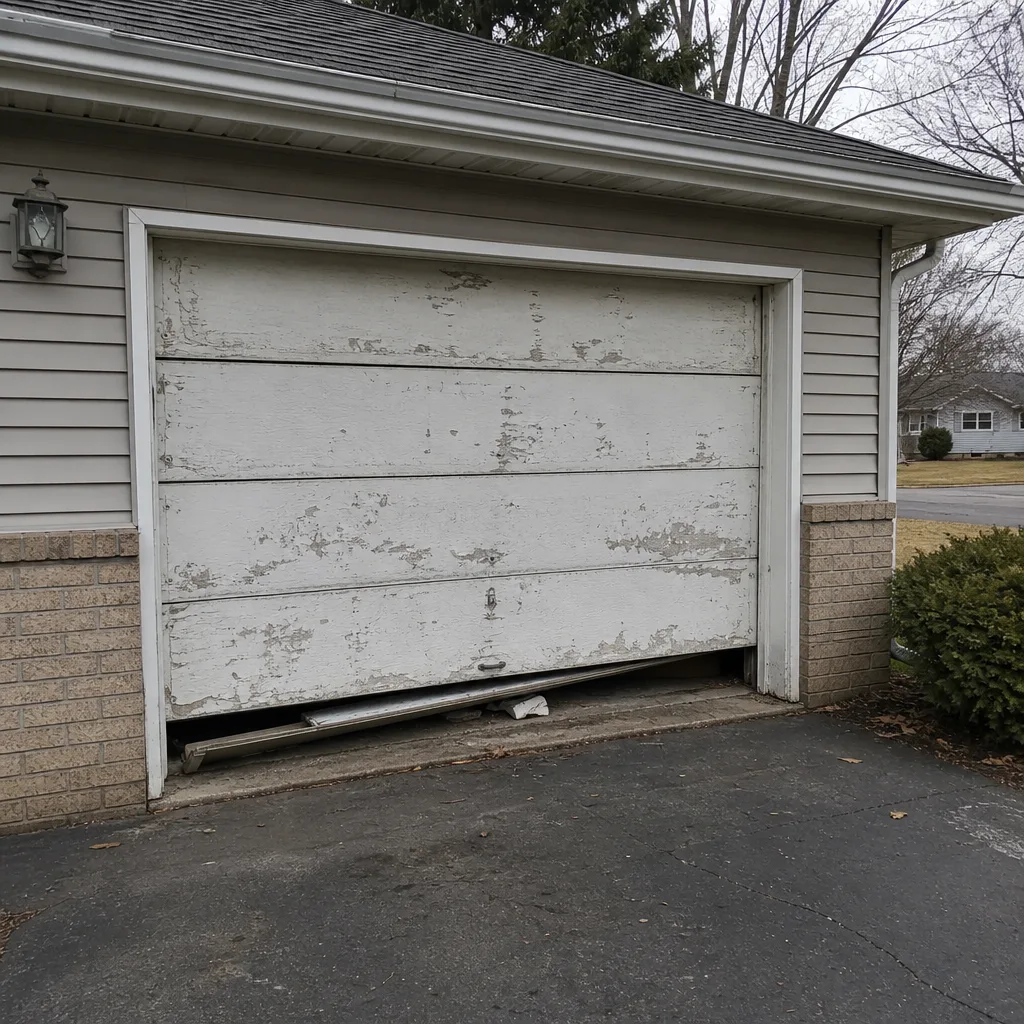 Before
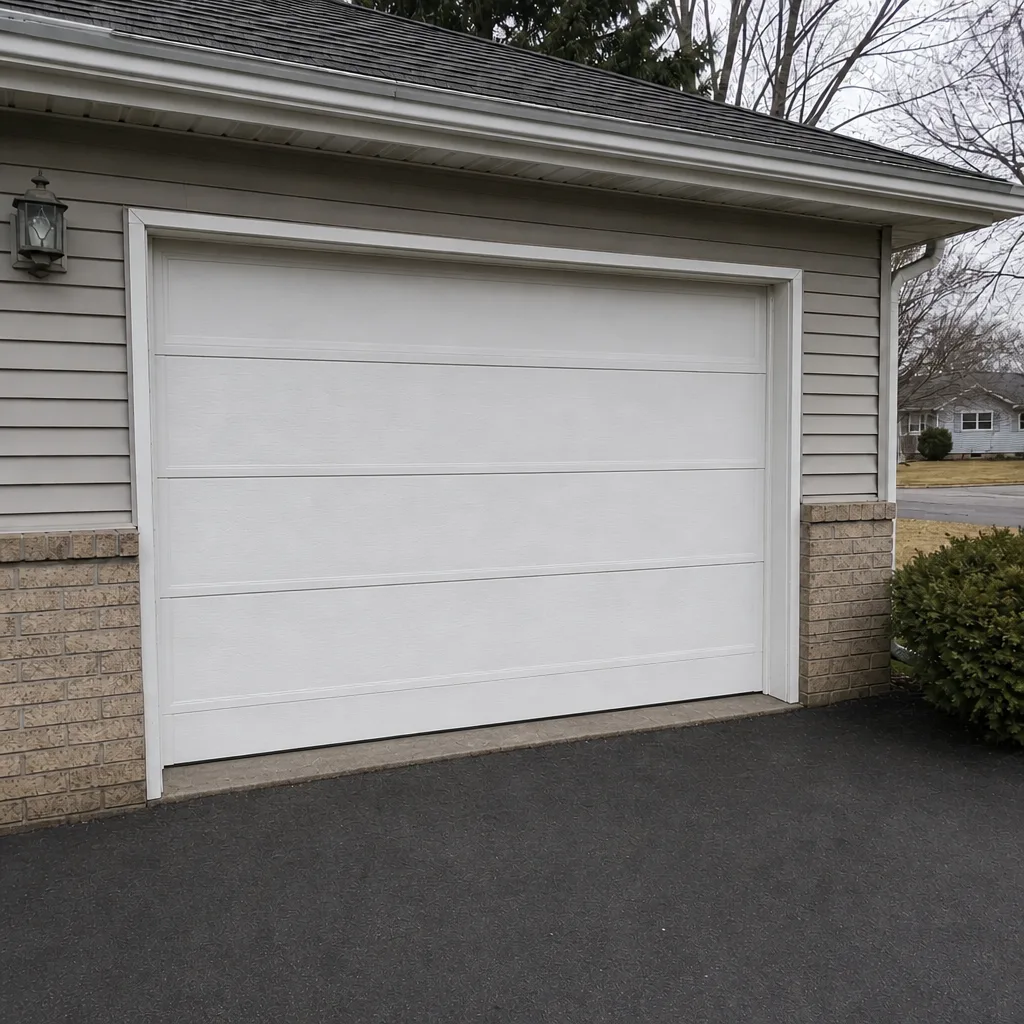 After
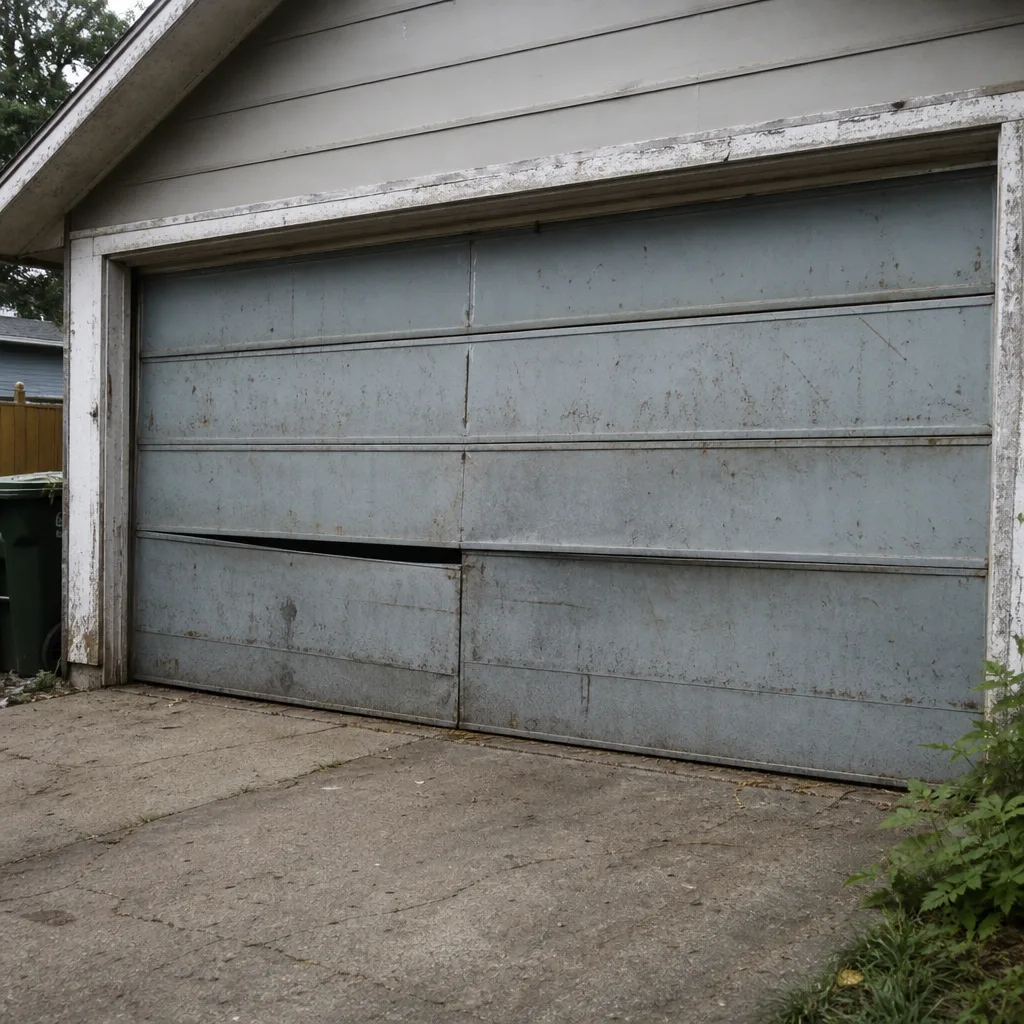 Before
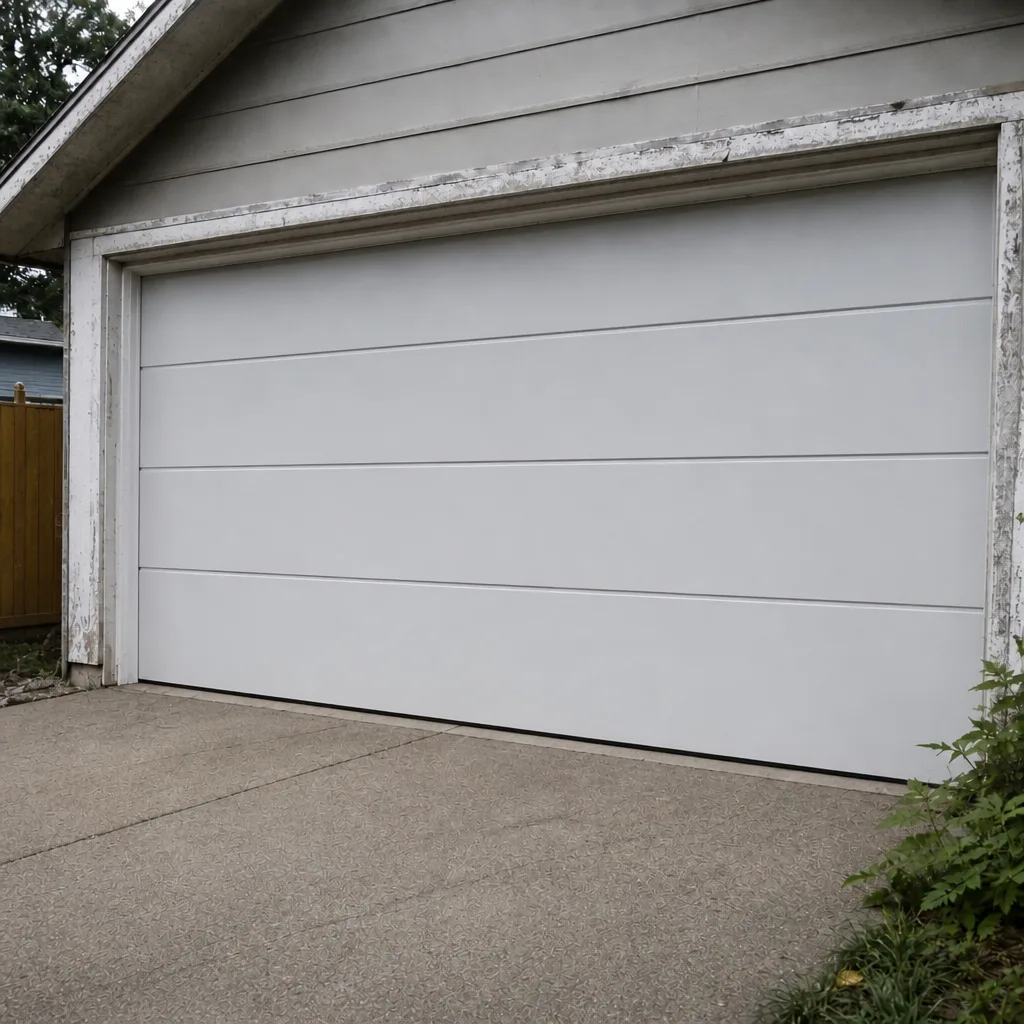 After
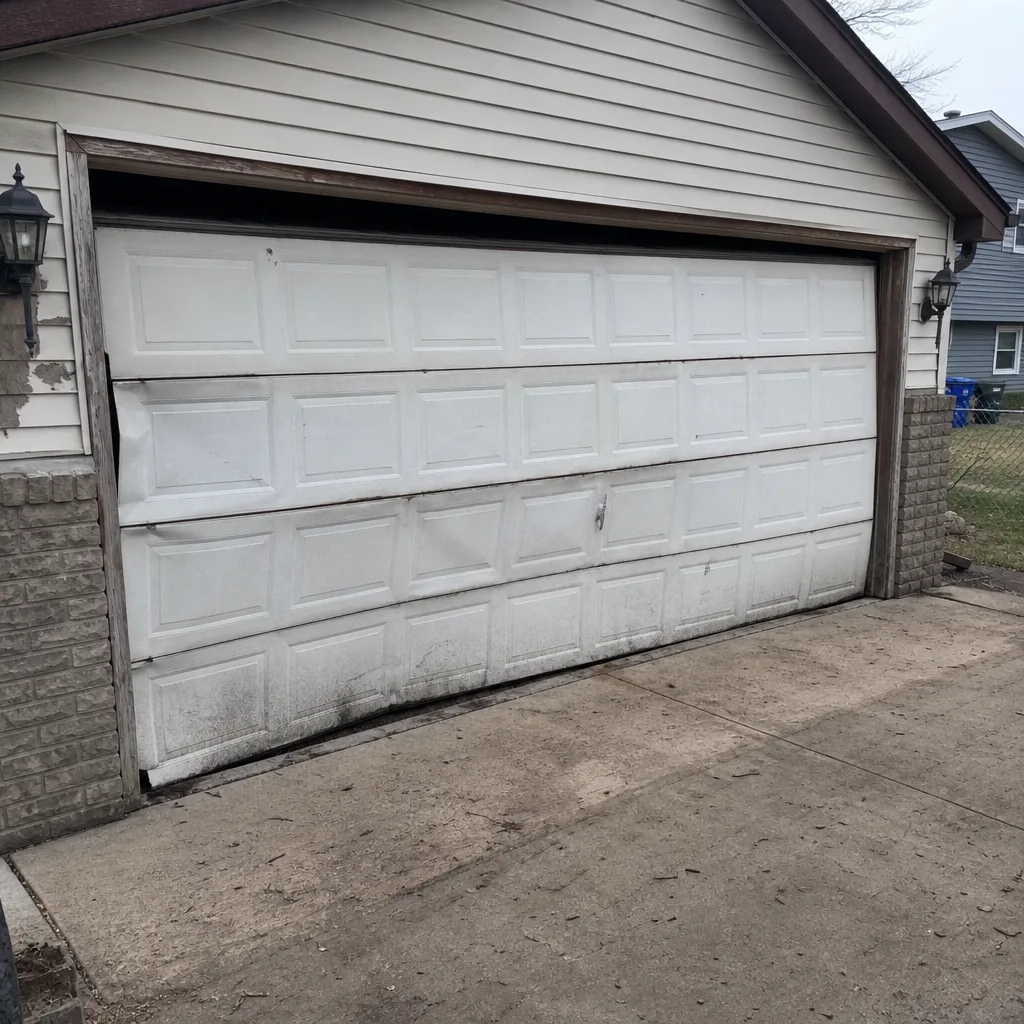 Before
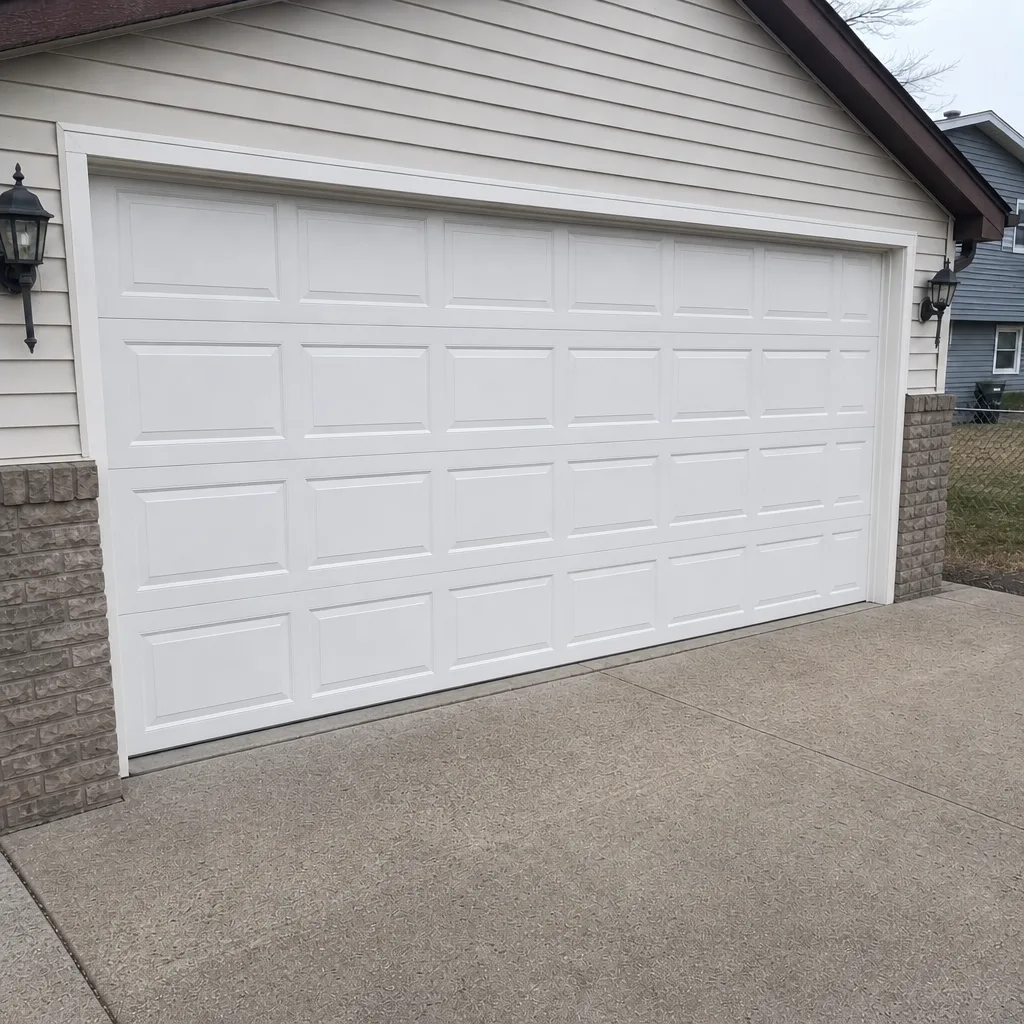 After
When to Call a Professional
Call a professional when the problem involves a broken spring, a snapped cable, a failed logic board, a misaligned or bent track, or any door that won’t move at all. Those are the cases where trying to force a fix risks injury or turns a small repair into a large one. Call us when the door is behaving inconsistently and you can’t isolate why, when the opener is doing something it shouldn’t, or when you’re deciding between repair and replacement and want a straight answer rather than a sales push. Plymouth Garage Door Repair Pros offers free estimates in Plymouth. We answer 24/7, with fast dispatch from 7am to 7pm, Sunday through Friday, and we’re closed Saturday. Call (855) 337-1124.
Frequently Asked Questions
Garage door repair pricing in Plymouth varies by the component that failed, so a spring replacement, an opener board swap, and a track realignment all price differently. We give a free written estimate before any work starts, and that estimate sets the price you pay. Call (855) 337-1124 for an exact quote; estimates are free.
Yes, for most repair calls. We answer 24/7, and dispatch runs 7am to 7pm, Sunday through Friday. A call outside dispatch hours is booked into the next opening. If your door won’t open or close, call and we’ll get you scheduled fast. Call (855) 337-1124.
No, the written estimate is the price. If we find something during diagnosis that changes the scope, we tell you before any additional work starts and get your approval first. Nothing gets added to the invoice that wasn’t quoted and agreed. Call (855) 337-1124 for a free estimate.
The local professionals we connect you with are licensed and insured as their state requires. Our technicians have up to 11 years of experience working on the major garage door brands, including LiftMaster, Chamberlain, Genie, Clopay, Amarr, Wayne Dalton, Craftsman, and Raynor. Call (855) 337-1124.
Cold makes steel more brittle, and the freeze-thaw cycle adds stress to a component that’s already rated in cycles rather than years. A spring near the end of its cycle rating is more likely to fail on the coldest mornings, which is why so many Plymouth spring failures happen in January and February rather than summer. Call (855) 337-1124 if you hear a loud bang from the garage.
Repair is usually the answer when one component has failed and the panels are sound; replacement makes more sense when springs, seal, opener, and hardware have all aged out, or when the panels are dented or rusting at the bottom. We give written estimates for both paths so you can compare them directly. Call (855) 337-1124 to talk it through.
The Bottom Line
Your garage door is a system of parts that fail on their own schedules, and in Plymouth the schedule is shaped by freeze-thaw cycles and 1985-to-2010 housing stock. Springs and bottom seals take the worst of it, and most 1990s doors need hardware work long before they need a new door. Learn the component map, use the five-minute triage when something breaks, and don’t touch a torsion spring yourself. When you need a specialist who works on your brand, from springs to openers to a full new install, call Plymouth Garage Door Repair Pros at (855) 337-1124 for a free estimate. We answer 24/7, with fast dispatch from 7am to 7pm, Sunday through Friday. The written estimate sets the price, and the work doesn’t start until you’ve approved it.
Written by the team at Plymouth Garage Door Repair Pros.