
Last updated November 21, 2026
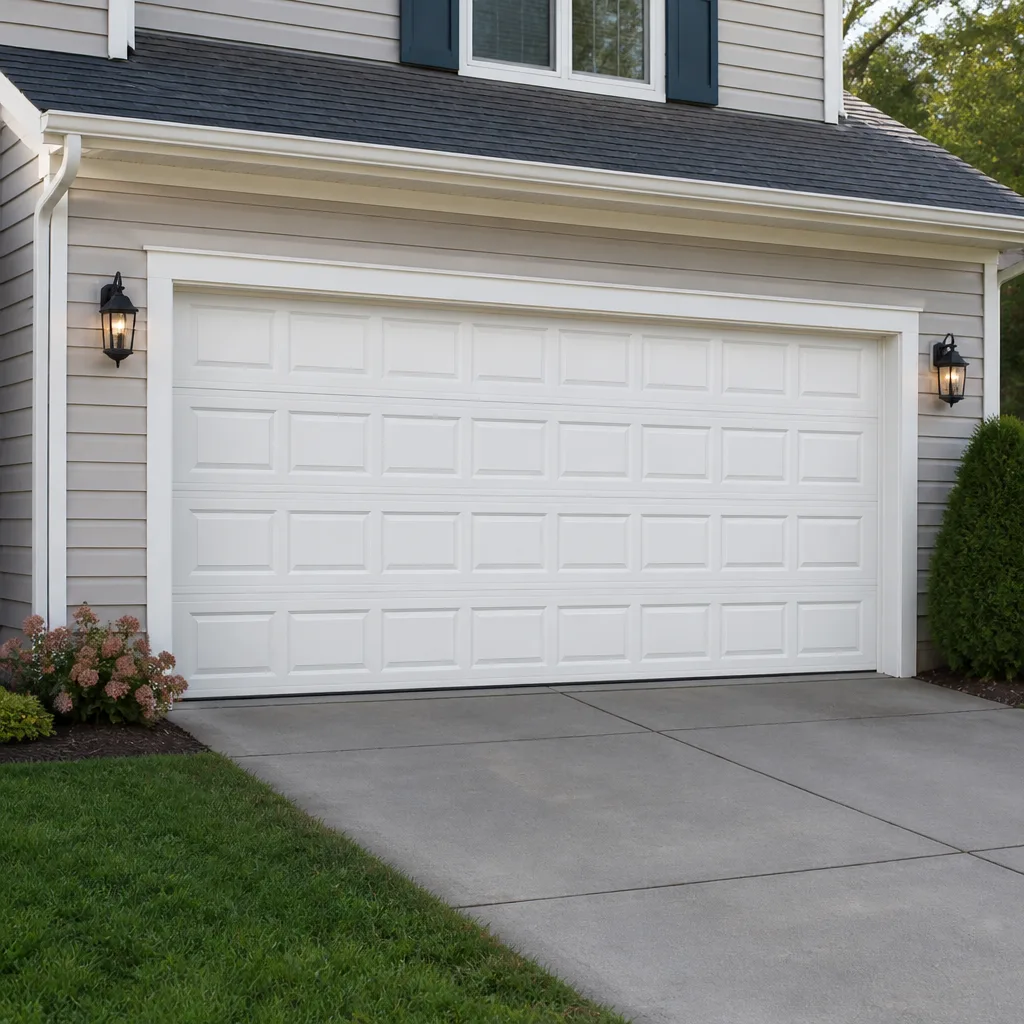 Raised-panel steel
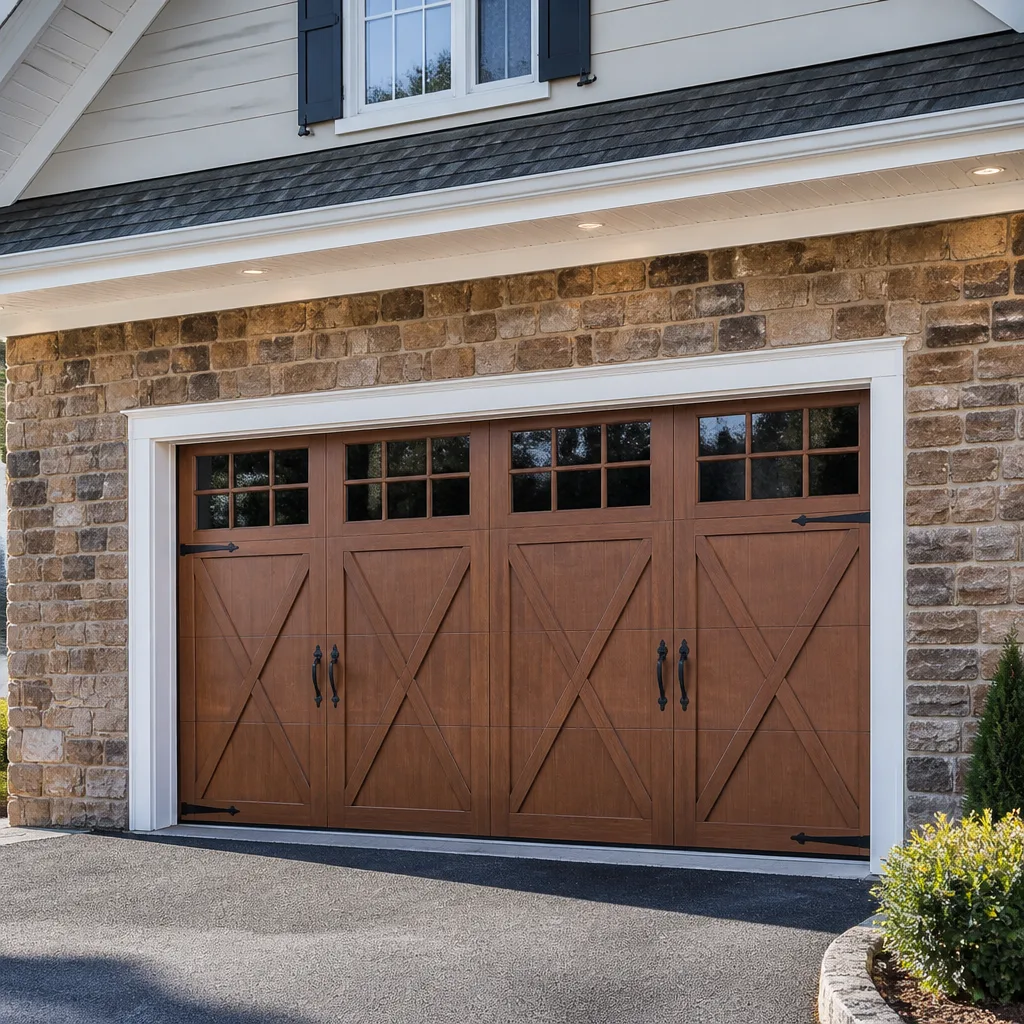 Carriage house
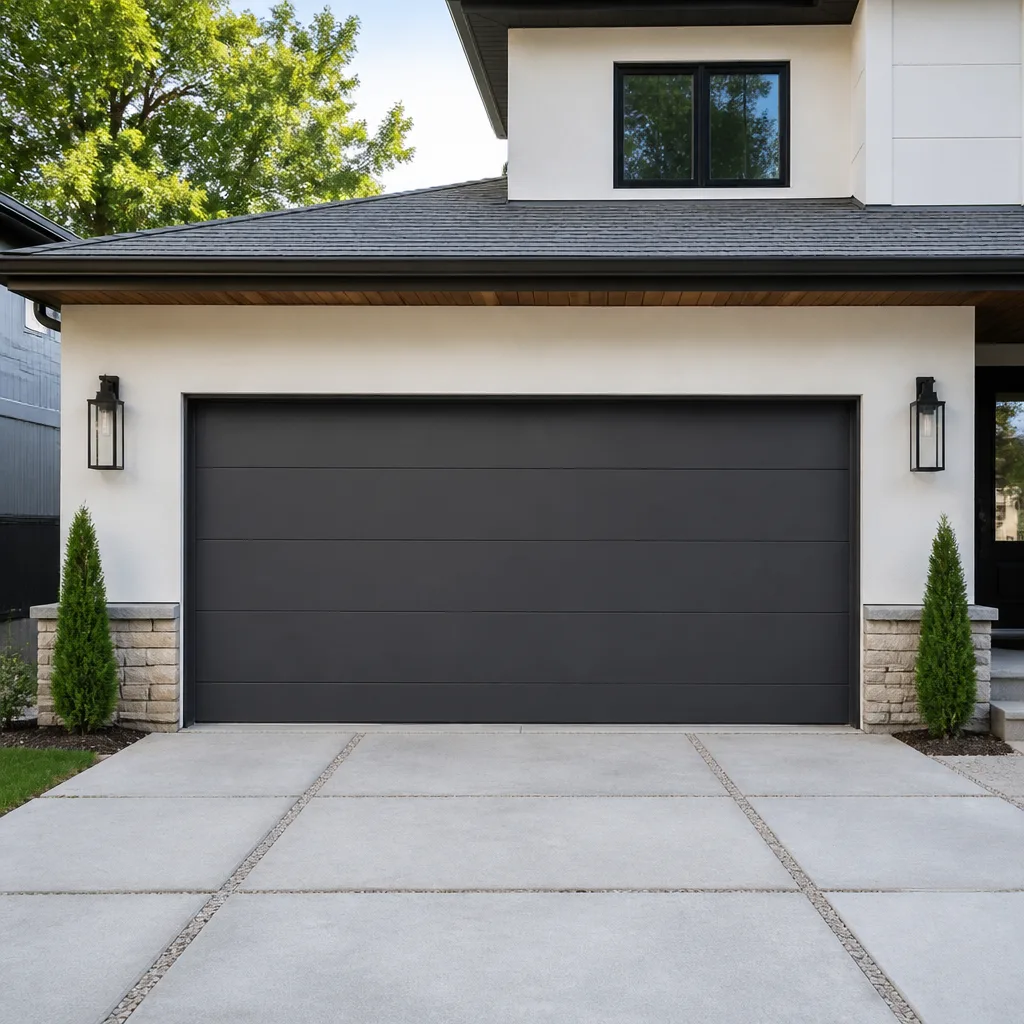 Modern flush
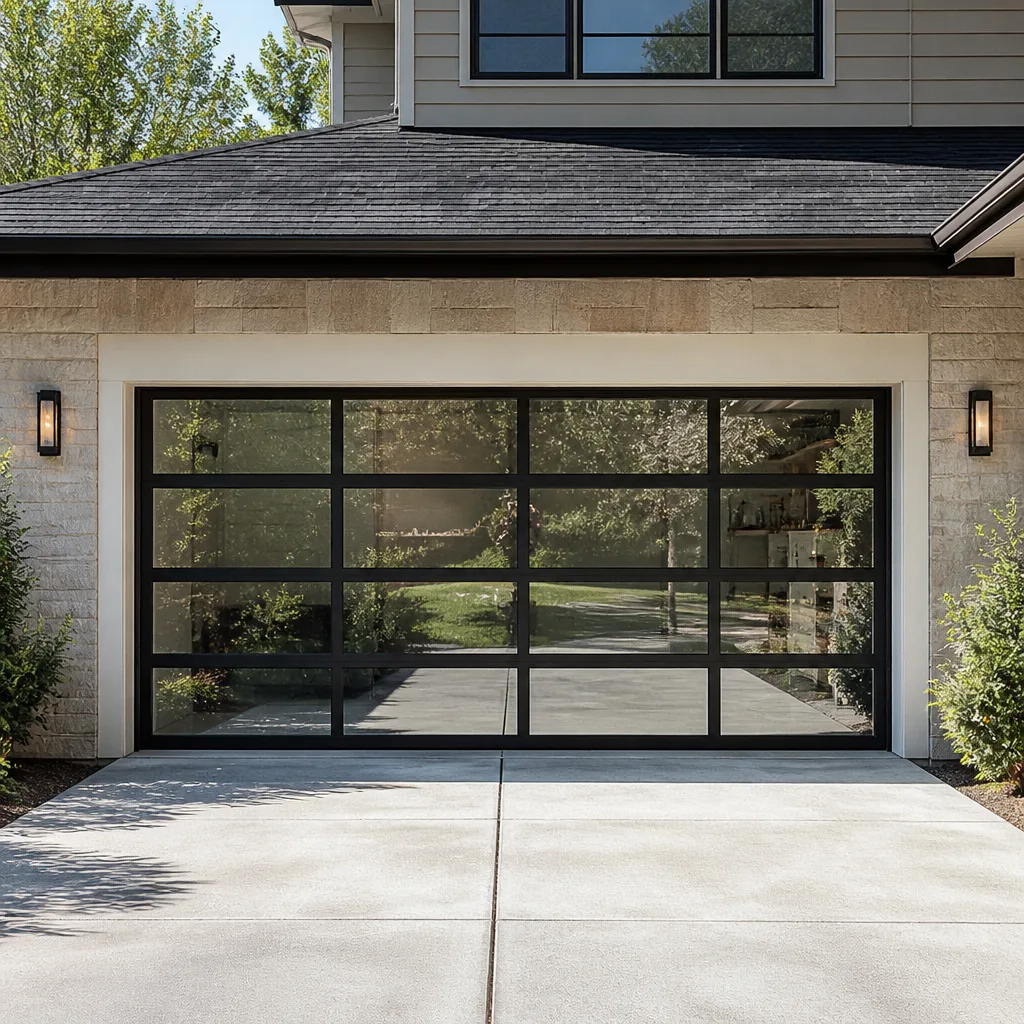 Full-view glass
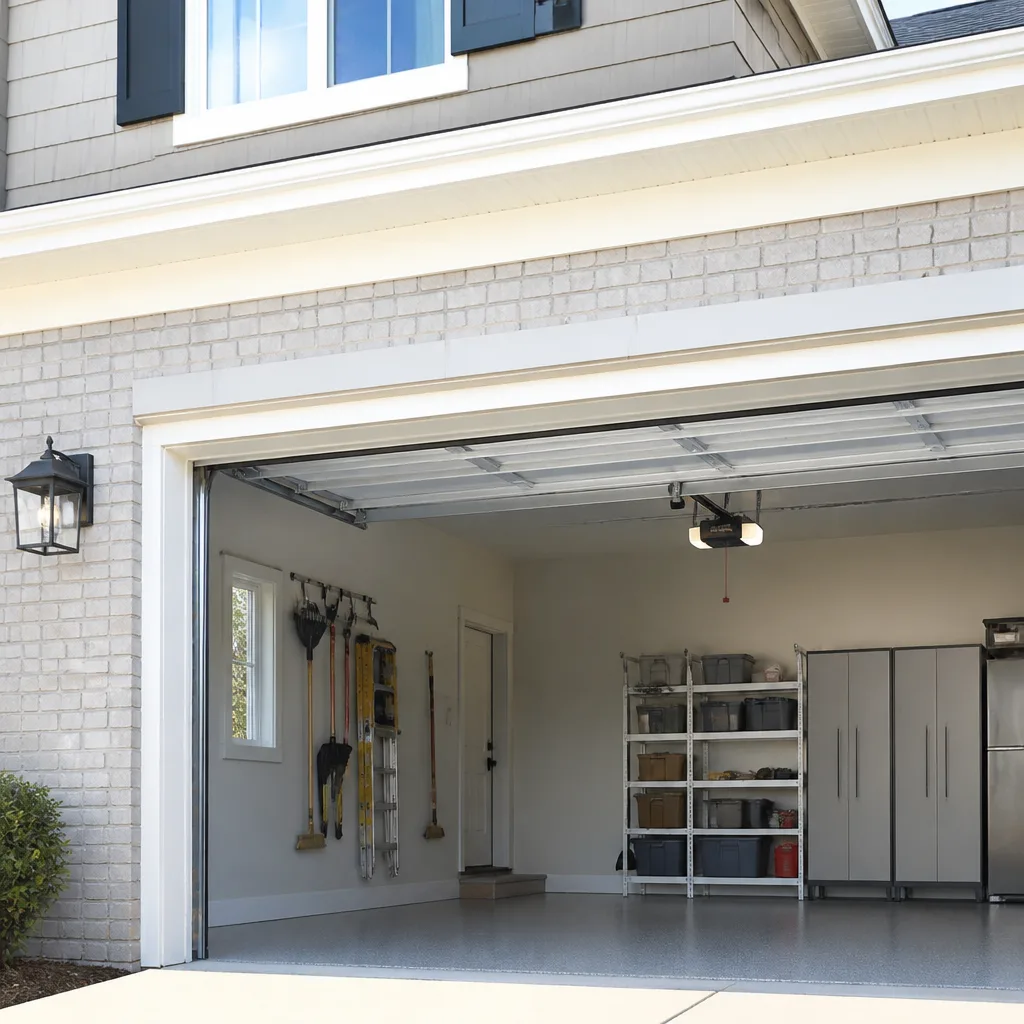 LiftMaster openers
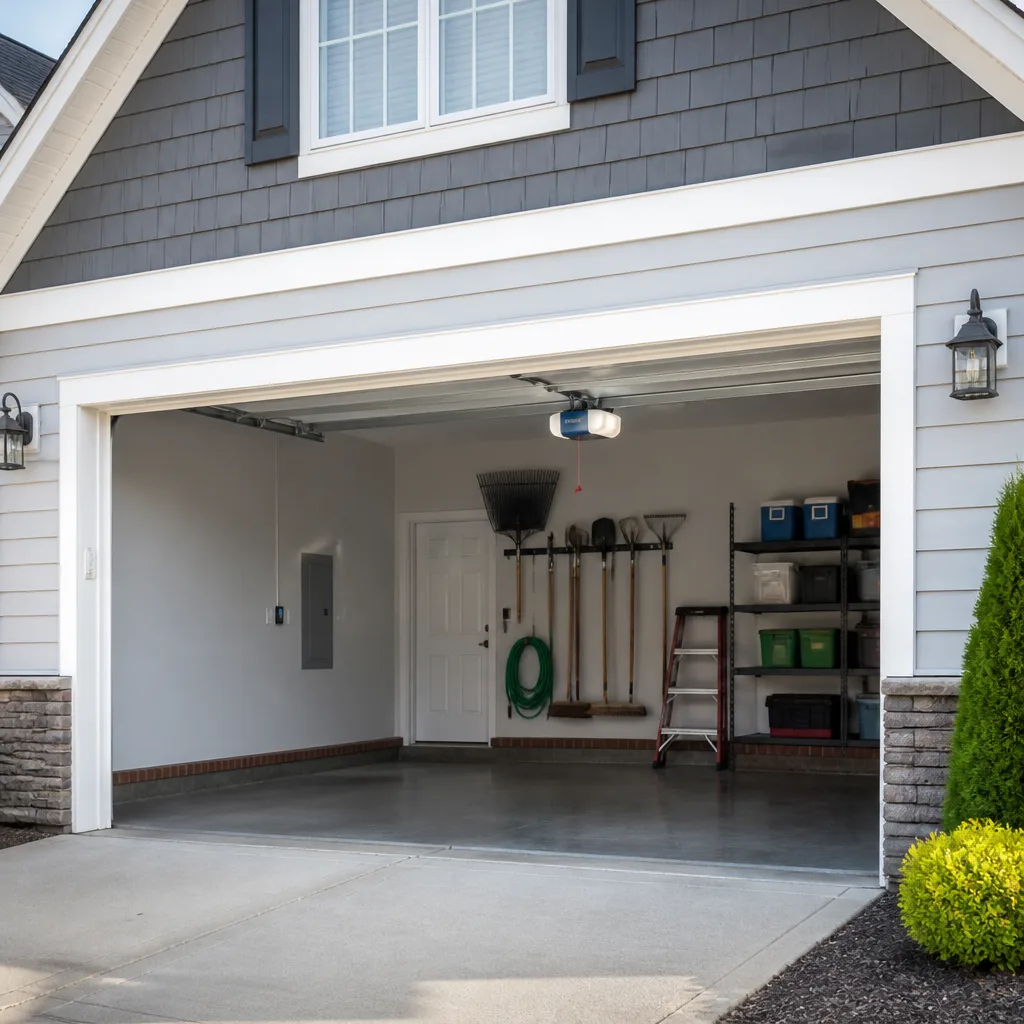 Chamberlain openers
Full 25-point door and opener safety check with every visit - springs, cables, rollers, tracks, and your LiftMaster or Chamberlain opener included
You get a price before we start. It does not change when the pro arrives.
Get your free estimateGarage Door Repair Maintenance Checklist for Plymouth Homeowners
Most garage door advice sounds the same: lubricate the chain, listen for noise, call someone if it breaks. That’s not a checklist, it’s a shrug. Here’s the part worth knowing. The three repairs our technicians get called to most often in Plymouth – snapped torsion springs, worn-out bottom seals, and stripped trolley carriages – almost never happen out of nowhere. Each one gives you warning signs months in advance, in places most homeowners never think to look. Thirty minutes of focused maintenance a year is usually enough to catch them. What follows isn’t a generic list. It’s built backward from the actual failure points we see on Plymouth doors, with the exact lubrication points, the safe way to read spring tension, the inspection order that catches rust and cable fraying early, and a seasonal calendar tied to Plymouth’s real weather. By the end you’ll know what to check yourself, what to leave alone, and the handful of red flags that mean stop and call.
Quick Answer
A garage door maintenance checklist for Plymouth homeowners should cover lubrication of springs, hinges, and rollers twice a year, a visual inspection of cables, rollers, and weather seals every season, a balance and spring-tension test each spring and fall, and an annual opener force-and-safety check. The critical rule: never adjust torsion springs or cables yourself – those are the two components that injure homeowners most, and they belong to a trained technician.
Styles & brands we work with
- Raised-panel steel
- Carriage house
- Modern flush
- Full-view glass
- LiftMaster openers
- Chamberlain openers
Table of Contents
- Why Plymouth Doors Fail Differently Than You’d Expect
- The Right Way to Lubricate a Garage Door (and What Not to Use)
- How to Test Spring Tension Safely Without Tools
- The Visual Inspection Sequence That Catches Failures Early
- A Seasonal Maintenance Calendar for Plymouth’s Climate
- Opener and Safety Reverse Testing
- Red-Line Indicators: Stop and Call a Professional
- What You Can Do vs. What Needs a Technician
Why Plymouth Doors Fail Differently Than You’d Expect
Plymouth sits in a part of Minnesota that deals with some of the widest temperature swings in the country over a single year. Summer afternoons push past 90 degrees; January nights drop well below zero. That range is what punishes garage doors. Metal expands and contracts, lubrication thickens and thins, weather seals harden, and the wood framing around the door moves with the moisture. A door in a milder climate might coast for years on minimal maintenance. A door in Plymouth earns every bit of the attention you give it.
There’s a second factor that’s easy to overlook: the freeze-thaw cycle in early spring. Snowmelt runs down driveways and pools against the bottom seal, then refreezes overnight. That moisture works its way into the bottom section of the door and the threshold. It’s one reason bottom seals and bottom-section rot are among the most common repairs in Plymouth – not because the seal is cheap, but because it takes the brunt of the season change.
Homes in neighborhoods like Medicine Lake, Parker’s Lake, and the stretch around French Regional Park tend to face open exposures with less windbreak than you’d guess from a map. Wind load puts more stress on the door’s balance system and the track alignment. If your door rattles more on breezy days than it used to, that’s not imagination – it’s the hardware telling you something has loosened.
The point isn’t to alarm you. It’s this: a maintenance checklist for a Plymouth door needs to be timed to Plymouth’s seasons and aimed at the components that actually fail here. Generic advice misses that. Below is the specific version.
The Right Way to Lubricate a Garage Door (and What Not to Use)
Lubrication is the simplest maintenance task on this list and the one most often done wrong. The goal is to reduce friction on moving metal-to-metal contact points without attracting dirt or breaking down rubber and plastic parts. Do it twice a year – once in spring and once in fall – and you’ll cut wear on rollers, hinges, and the opener’s drive system significantly.
The right products
- White lithium grease (in spray form): The workhorse for hinges, rollers, and the torsion spring coils. It clings, resists water, and won’t run off in summer heat.
- Silicone spray lubricant: The right choice for anything rubber or plastic – weather seals, the bottom threshold, and plastic roller stems. Silicone won’t degrade the material the way petroleum-based products will.
- Garage door-specific lubricant: Formulated for the whole assembly. If you keep one can on the shelf, make it this.
What not to use (and why it matters)
- WD-40 (the standard formula): It’s a solvent and water displacer, not a lasting lubricant. It strips existing grease and evaporates, leaving parts drier than before. It’s fine for loosening a rusty bolt; it’s wrong for your door’s moving parts.
- Motor oil or household grease: Too thin or too thick, both attract grit that grinds into rollers and tracks.
- Any petroleum product on rubber seals: Petroleum-based lubricants break down rubber over time, turning a soft seal brittle and cracked.
Where to apply it (the exact points)
- Hinge pivot points – a small spray at each hinge knuckle, top and bottom.
- Roller stems and bearings – both the metal stem and where it meets the hinge.
- The torsion spring coils (the horizontal spring above the door on most Plymouth homes) – a light coat along the coil, never inside the winding mechanism.
- The opener’s rail or chain, if it’s a chain-drive – use the opener manufacturer’s recommended lubricant, not white lithium, unless the manual says otherwise. A LiftMaster or Chamberlain chain needs the product their manual specifies.
- The lock, if your door has one – graphite, not grease.
Wipe off excess. A thin film is all you need. If you’re unsure whether your system is chain, belt, or screw drive, or which brand you have – Amarr, Wayne Dalton, Craftsman, Raynor, and the other majors all build openers slightly differently – a quick look at the opener housing label answers it. If the label is gone, we can sort it out during a routine service visit.
How to Test Spring Tension Safely Without Tools
Before we go further: torsion springs and the cables that work with them are under extreme tension and are the single most dangerous component on a residential garage door. Never adjust, unwind, or attempt to replace a spring yourself. This test is safe because you’re only observing – not touching the spring or cable.
The balance test tells you whether your springs are still doing their job. Here’s how to run it:
- Close the door completely. Disconnect the opener by pulling the red emergency release handle (the door should now be under manual control).
- Lift the door halfway by hand, to roughly waist or chest height.
- Let go – gently.
- Watch what happens.
What the results mean
- Door stays put where you left it: Spring tension is balanced. Good.
- Door slowly drifts down or rises on its own: Springs are losing tension or are uneven. It’s not urgent yet, but plan for service before it gets worse.
- Door slams down or shoots up fast: A spring is broken or badly out of balance. Stop using the door. This is a call-a-professional situation – today.
- Door is very hard to lift at all: Springs are broken or detached. Same as above: stop, call.
Reconnect the opener when you’re done. If the door behaved normally, you’ve confirmed the balance system is healthy for now. If it didn’t, don’t run the opener against the problem – that’s how a spring issue turns into an opener failure and a much bigger repair. Broken springs are a same-day call for us, and we’ll be upfront about what’s involved. If you suspect a spring is already broken, read our page on garage door spring repair before you touch anything further.
The Visual Inspection Sequence That Catches Failures Early
Visual inspections work best in a fixed order, so nothing gets skipped. Do this sequence from the ground up, with the door closed and the opener disconnected. It takes about ten minutes.
Start at the bottom
- Bottom seal: Look for cracks, missing chunks, or a seal that’s flattened and no longer touching the floor. In Plymouth, a hardened seal lets in snowmelt and mice – both common.
- Bottom section of the door: Check for rot, bubbling paint, or soft spots along the very bottom edge. That’s where freeze-thaw moisture does the most damage.
- Threshold: The floor strip under the door should be intact and level. Cracks let water in behind the seal.
Move up the cables and rollers
- Cables: Both cables (one on each side) should be straight, tight, and free of fraying. Any visible fraying – individual wire strands separating – is a red flag. Don’t touch it; call.
- Rollers: Roll each one by hand (door closed, opener disconnected). It should turn smoothly with no wobble, flat spots, or grinding. Steel rollers wear faster than nylon; if yours are steel and the door is over a decade old, they may be due.
- Tracks: Look for dents, bends, or debris. A track that’s out of alignment forces the rollers to fight it and wears both faster.
Finish at the top
- Torsion spring (above the door): Look for a visible gap in the coil. A broken spring has a clean gap where the metal snapped. This is a visual check only – don’t reach for it.
- Hinges: Each hinge plate should be tight against the door. Loose or bent hinges are worth noting.
- Opener and rail: Check the rail for sagging or misalignment. Look at the trolley carriage (the piece the opener arm attaches to) for any cracking or stripped teeth, which is one of the most common failures we see on Plymouth doors.
- Wall-mounted controls and safety sensors: Both sensors (the small boxes on each side of the door, about six inches off the floor) should be aimed at each other, with their indicator lights on and steady.
If anything on this list is damaged or unclear, the earlier you address it, the cheaper the repair. That’s the case for nearly every component on a garage door – small issues compound quickly.
A Seasonal Maintenance Calendar for Plymouth’s Climate
Plymouth’s weather dictates when the most useful maintenance happens. Here’s the calendar we’d hand a homeowner in the Twin Cities if they asked what to do and when.
October
- Lubricate everything one last time before winter cold sets in (cold thickens lubricants; a fresh coat handles it better).
- Inspect the bottom seal and replace it if it’s cracked or flat – a good seal is your main defense against snowmelt and cold air.
- Test the reverse safety feature with a 2×4 flat under the door (more on that below).
- Check that the door closes fully flush with the floor – gaps get bigger in cold weather.
- Look for rust starting on hinges and springs; a light coat of lubricant stops it.
April
- Do a full spring and balance test after winter – springs are under the most stress in the coldest months.
- Inspect the door’s bottom section for freeze-thaw damage and rot.
- Check the track alignment; ground movement from frost heave can nudge tracks out of true.
- Look for rust on the tracks and hardware from winter moisture.
- Lubricate again for the warmer months.
Mid-summer (July)
- Test the opener’s force settings and safety reverse.
- Clean and lubricate rollers, especially if the door has steel rollers.
- Check that weather seals are still soft (silicone spray helps preserve them).
Build those three check-ins into your calendar and you’ll catch most of what a Plymouth door throws at you. The gaps between them – routine visual checks whenever you happen to be in the garage – matter too.
Opener and Safety Reverse Testing
The opener is the brain of the system, and the safety reverse function is the one thing you absolutely must verify. It’s the feature that stops the door from closing on a person, pet, or object. Every opener manufactured in the US has been required to include it for years, but the feature can fail silently if the system drifts out of calibration.
The 2×4 test
- Place a 2×4 flat on the floor directly under the middle of the door.
- Close the door using the opener or wall control.
- When the door contacts the board, it should reverse and open fully on its own.
If it doesn’t reverse, stop using the opener and call for service. This isn’t a “do it later” item.
The photo-eye test
- With the door open, wave an object between the two floor-level sensors while pressing the close button.
- The door should reverse immediately.
If one sensor’s indicator light is off or flashing, check alignment. A bumped sensor is common in busy garages. If it still won’t pair after adjusting, the sensor itself may be failing.
Force setting check
Most openers (LiftMaster, Chamberlain, Genie, Craftsman, and others) have force-adjustment dials or settings on the back or side of the unit. These are usually set correctly at installation and rarely need adjustment – but if the door takes more force to close than it used to, the opener may be compensating for a strained door. That’s a door problem showing up in the opener, not an opener problem. Our garage door opener repair page covers the diagnostics in more depth if you’re seeing symptoms like short-cycling or inconsistent travel.
If your opener is a smart system like a LiftMaster or Chamberlain myQ, check that the app is still reporting door state and error codes accurately. Sometimes the app catches what a quick visual won’t.
Red-Line Indicators: Stop and Call a Professional
Some things are maintenance. Some are emergencies waiting to happen. These are the red-line indicators on our checklist – if you see any of them, stop what you’re doing, keep the door closed, and call for service.
- Visible gap in a torsion spring. The spring has snapped. It’s under tension and the door is unsupported. Don’t use it manually; call.
- Frayed or severed cables. Cable failure is the component most likely to cause injury if handled incorrectly. Never attempt a repair.
- The door won’t stay up on its own, or drops fast. Spring or balance failure. Stop using it.
- A loud bang from the garage that sounds like a gunshot but wasn’t one. That’s usually a spring breaking. It’s alarming but no one is in danger from a break that already happened – the danger is in using the door afterward.
- A door that doesn’t reverse on the 2×4 or photo-eye test. Safety system failure. Don’t use the opener until it’s fixed.
- A bent track that’s pulling the door off alignment. Continuing to operate it can damage rollers, hinges, and the door itself.
- Smoke, burning smell, or grinding from the opener motor. Stop, unplug it if you safely can, and call.
Spring replacement and cable work are the two most hazardous repairs on a garage door – and the two most worth leaving to a trained technician. Our technicians have up to 11 years of experience handling exactly these failures on Plymouth doors, from snapped torsion springs to failing LiftMaster board boards. If you’re not sure whether something belongs in the red-line category, that’s a conversation worth having. Call (855) 337-1124. We answer 24/7. Fast dispatch from 7am to 7pm, Sunday through Friday.
What You Can Do vs. What Needs a Technician
A useful checklist draws a clear line between what a homeowner can safely handle and what should never be a DIY job. Here’s the line.
Safe for you to handle
- Lubrication of hinges, rollers, springs (the outside of the coil), and the opener’s chain or rail, following the manufacturer’s product guidance.
- Visual inspections – with the door closed and opener disconnected – of seals, tracks, hinges, and door sections.
- Balance testing (the stay-put test above).
- Safety-reverse testing with the 2×4 and photo-eye.
- Cleaning tracks and rollers of debris.
- Replacing a bottom weather seal on most doors (a straightforward job on Amarr, Wayne Dalton, and most standard door profiles).
Belongs with a trained technician
- Torsion spring replacement or adjustment.
- Cable replacement, tightening, or repair.
- Track realignment (bending a track by hand is how doors get worse).
- Roller replacement on the higher rollers (the work is straightforward, but the spring tension must be released safely first).
- Opener board or logic repairs.
- Panel replacement or door replacement.
If you’ve hit something on the second list, we can help. From a single roller to a full garage door repair job, one call covers it. We also handle installation for new doors, whether you’re replacing a worn Ryano or Raynor system or upgrading to a modern LiftMaster opener.
Common Mistakes to Avoid
- Using WD-40 on anything except unlocking a stuck bolt. It strips grease and leaves moving parts dry, and the damage compounds over months. Reach for white lithium or a door-specific lubricant instead.
- Skipping the spring test because the door seems fine. Springs lose tension gradually – you won’t notice until the door is noticeably hard to lift or slams. Testing twice a year catches it before you’re stuck.
- Running the opener against a door that’s out of balance. This is one of the most common causes of opener failures we see in Plymouth. The opener isn’t designed to lift a door the spring is supposed to carry – keep doing it and the drive gear and board are next.
- Ignoring a cracked bottom seal until spring. Snowmelt and rodents get through a broken seal, and by the time the weather improves, the bottom section may have started to rot. Replace it before winter.
- Adjusting the opener’s force setting upward to get a stuck door to close. That’s masking the real problem, which is usually track alignment or a failing spring. It’ll fail again, and the safety reverse may stop working correctly.
- Bending a track back by hand. A slightly bent track is easy to make worse. Track alignment is a fit-for-a-technician job.
- Not testing the safety reverse after any change. Anytime the opener, sensors, or door balance changes, retest the reverse. It’s the one maintenance item that protects people, not just the door.
Six months of skipping these and you’ll be on the phone. Six months of doing them and you’ll likely avoid the three most expensive repairs in Plymouth. The difference between a garage that runs quietly for years and one that fails in the worst weather usually comes down to a short list like this one.
See the difference
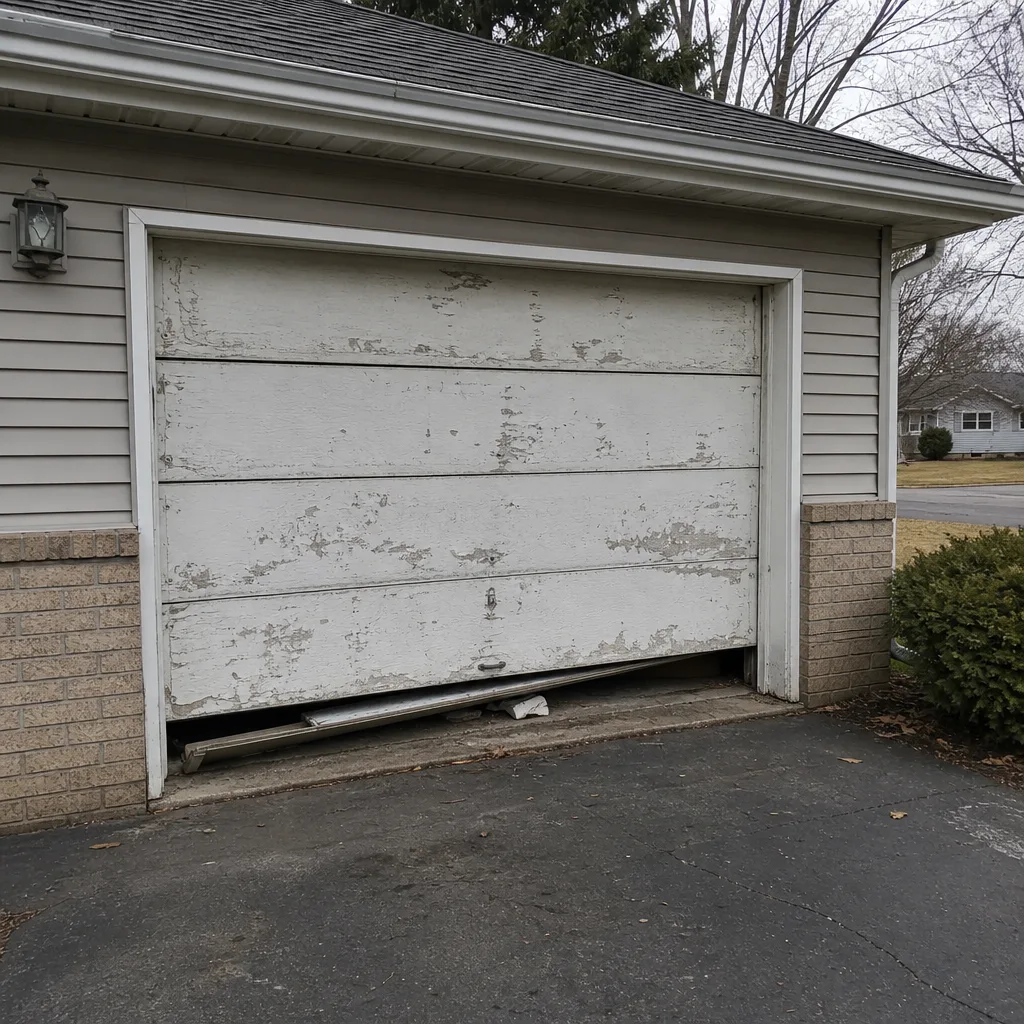 Before
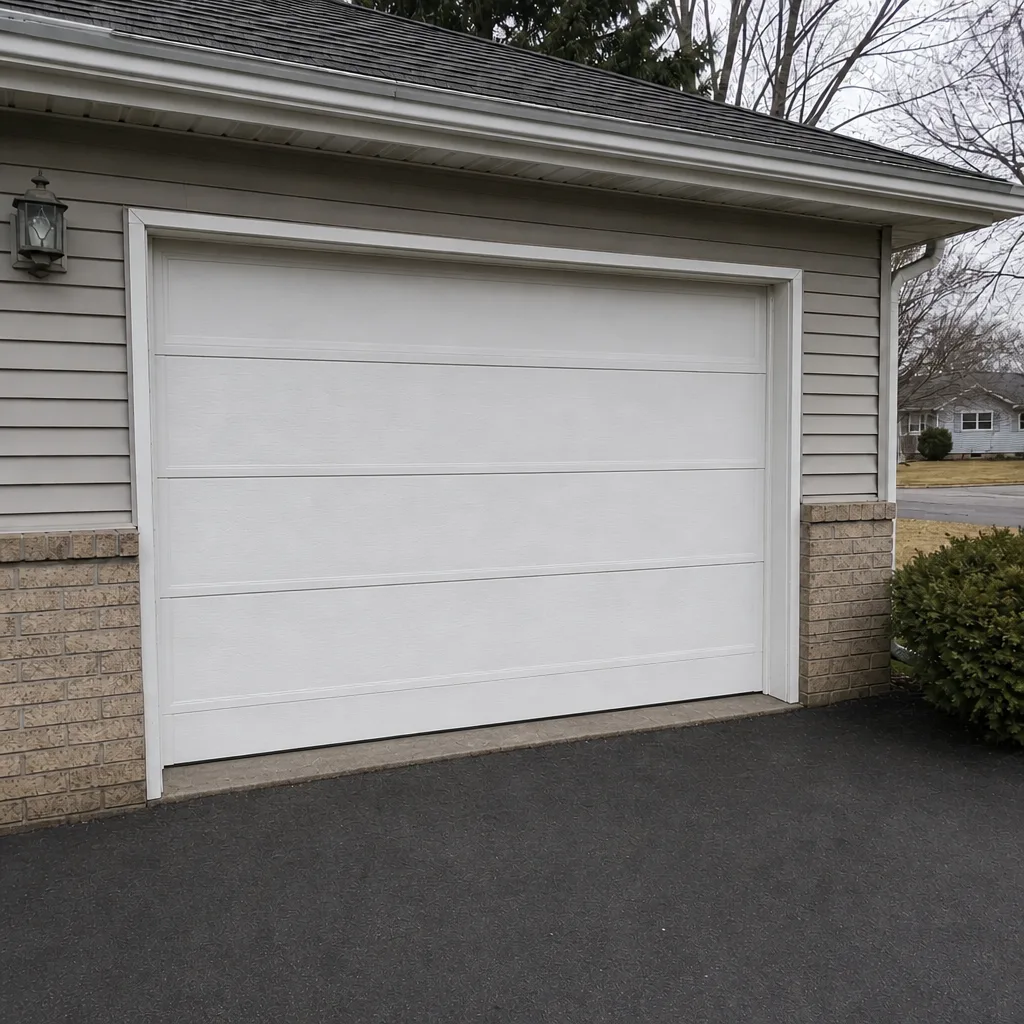 After
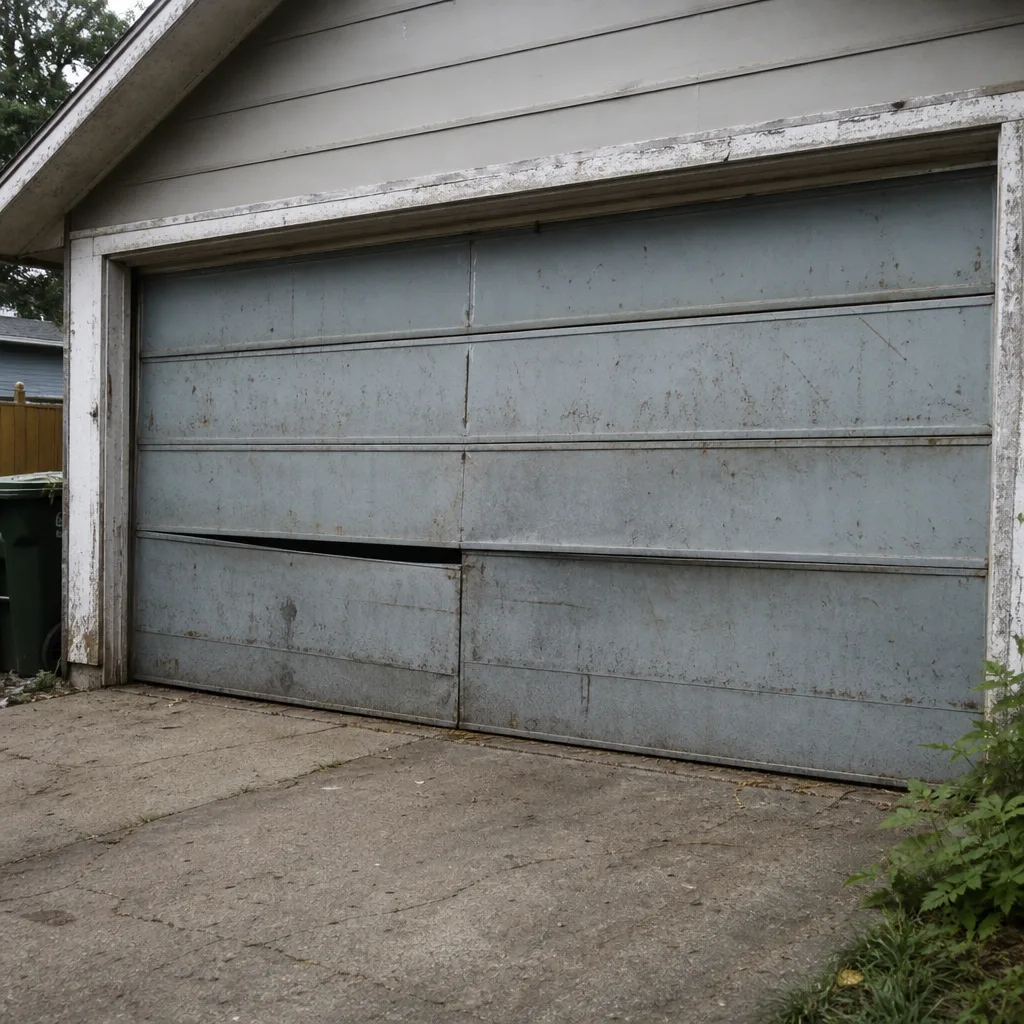 Before
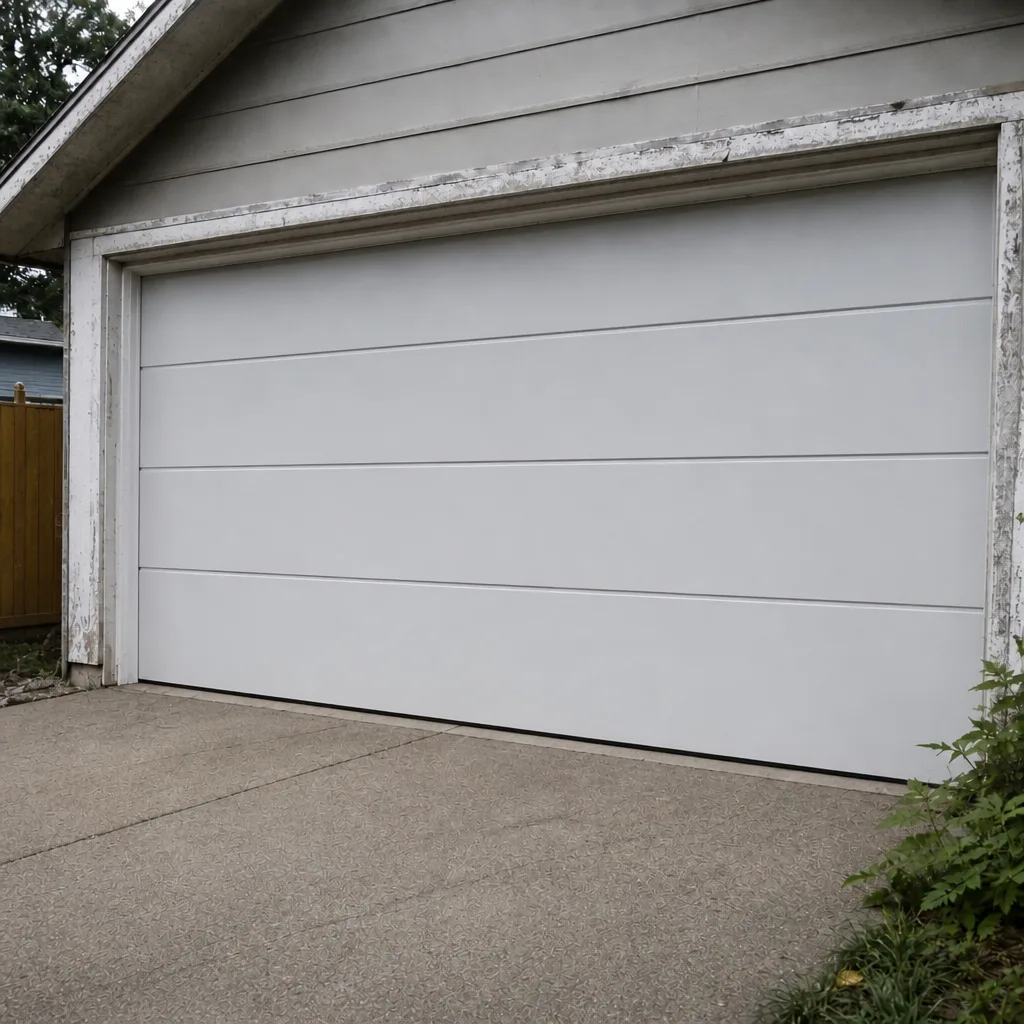 After
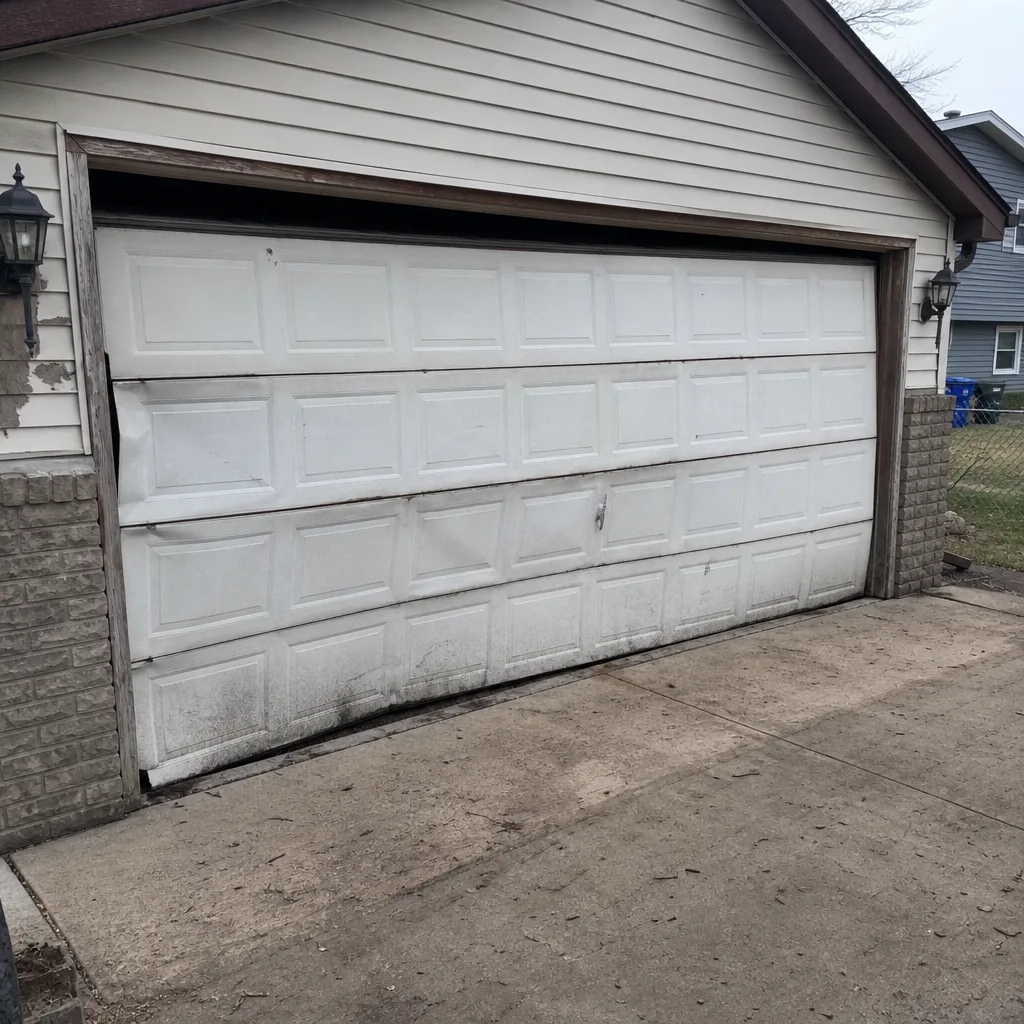 Before
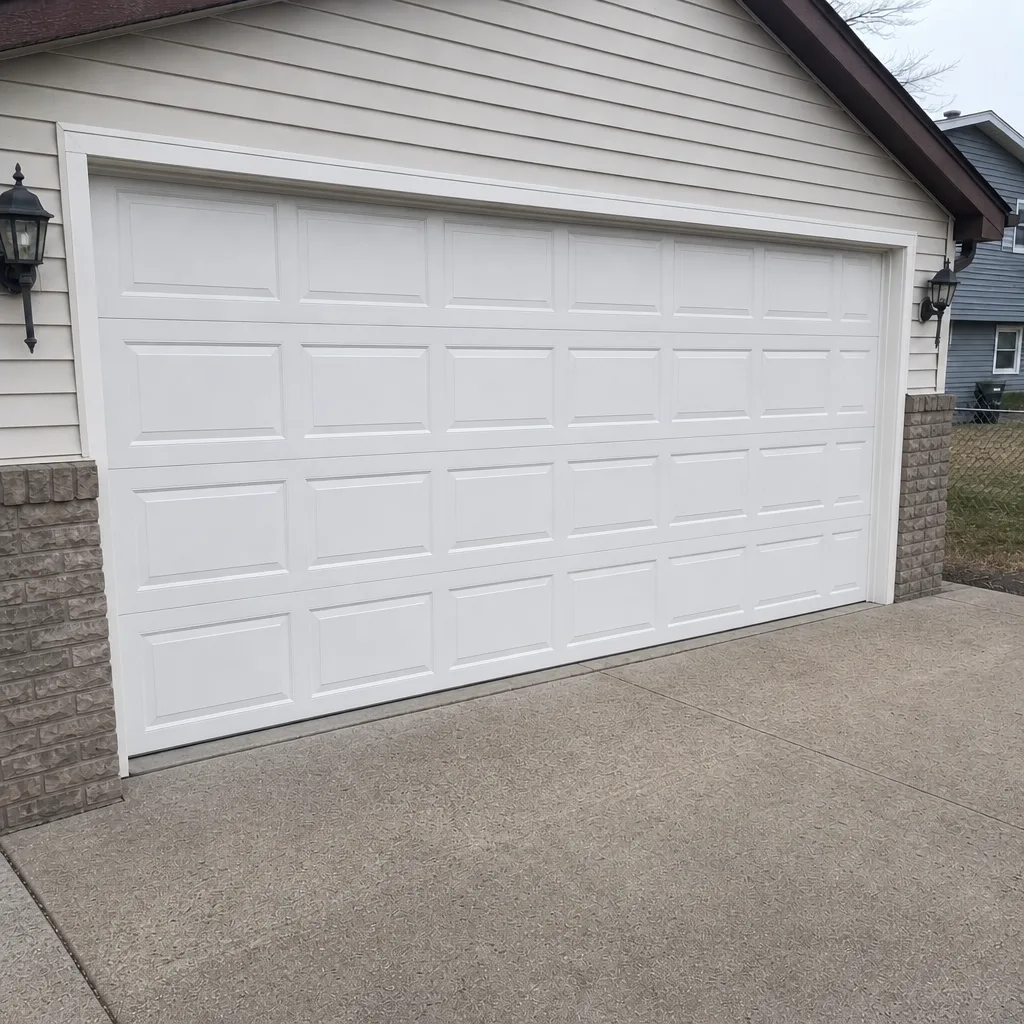 After
When to Call a Professional
Some garage door problems resolve with a lubricant and an afternoon. Others need a trained technician, and knowing the difference saves money and keeps you safe. Call us when you see a snapped torsion spring or a gap in the coil, frayed cables, a door that drops or rises on its own, an opener that won’t reverse, a door that’s off its tracks, or any grinding, burning, or banging from the opener motor. Call us too if a door has stopped halfway and won’t reset, if the photo-eye sensor needs replacing rather than adjusting, or if you’re simply not sure whether what you’re seeing is normal wear or an imminent failure. Plymouth Garage Door Repair Pros offers free estimates in Plymouth – call (855) 337-1124. We answer 24/7. Fast dispatch from 7am to 7pm, Sunday through Friday. Every price is quoted and agreed before any work starts, so the number you approve is the number you pay.
Frequently Asked Questions
Twice a year is the right interval for Plymouth’s climate – once in October before winter and once in April after it. The freeze-thaw cycle and summer heat both work against lubricants faster here than in milder regions. Use white lithium grease on metal parts and silicone spray on rubber seals, and skip WD-40 on any moving component.
No. Torsion springs and the cables that work with them are under extreme tension and can cause serious injury if handled without training. Replacement requires specialty tools and knowledge of the exact winding procedure. Spring replacement is one of the repairs we handle, and it’s not a job we’d recommend for anyone without a technician’s tools and training.
It means the springs are either losing tension or have broken. If the door drifts down slowly, the springs are worn but still functioning – schedule service soon. If it slams down or shoots up, a spring has likely broken and you should stop using the door and call for repair today.
The two most common causes are misaligned photo-eye sensors (the small boxes near the floor) and a force setting that’s drifted out of calibration. If the sensors are aligned and their lights are steady but the door still won’t reverse on a 2×4 test, the opener’s force sensitivity needs adjustment – and that’s a diagnostic worth having a technician run. Don’t keep using the door until it’s fixed.
A worn trolley carriage usually shows up as grinding or jerking when the door opens or closes, or the door “catching” then moving suddenly. The carriage itself is the piece riding on the opener’s rail. Look for visible cracks in its housing or slack in the arm connecting it to the door. Trolley and opener issues are a common repair in Plymouth and are worth diagnosing early.
The interval is similar, but the timing matters more here. Plymouth’s temperature swings are wider than in northern Minnesota (where cold is more consistent) and more humid in summer than the western part of the state. That makes the spring and fall checks the most important ones. The bottom seal and the freeze-thaw damage around the threshold are specific Plymouth priorities – address them in October, not April.
The Bottom Line
Garage door maintenance isn’t complicated, but it does need to be aimed at the right things. Lubricate the correct components with the correct products twice a year. Test the balance and spring tension every spring and fall. Run the visual inspection sequence from the bottom up. Test the safety reverse. Build in October and April check-ins tied to Plymouth’s actual weather. Then stop and call for the red-line problems: snapped springs, frayed cables, safety systems that won’t reverse, doors off their tracks. Do that and you’ll avoid the three most common repairs we see in Plymouth. If something on this list is already broken – or you’re not sure whether it is – Plymouth Garage Door Repair Pros is a call away. We work on all eight major brands, from LiftMaster and Chamberlain to Amarr and Wayne Dalton, and we’re set up for the kind of urgent calls a failing door throws at you. What you can’t diagnose yourself, we can. Call (855) 337-1124 for a free estimate. We answer 24/7. Fast dispatch from 7am to 7pm, Sunday through Friday. No price changes after the work starts – the written estimate is the price.
Written by the team at Plymouth Garage Door Repair Pros.